Posts: 7
Threads: 3
Joined: Mar 2012
City: usa
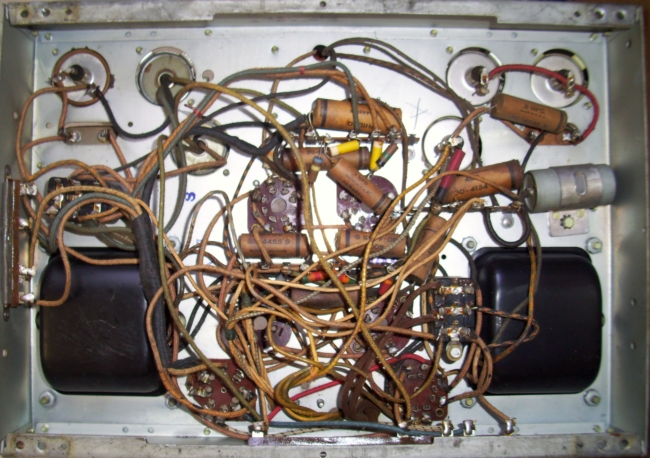
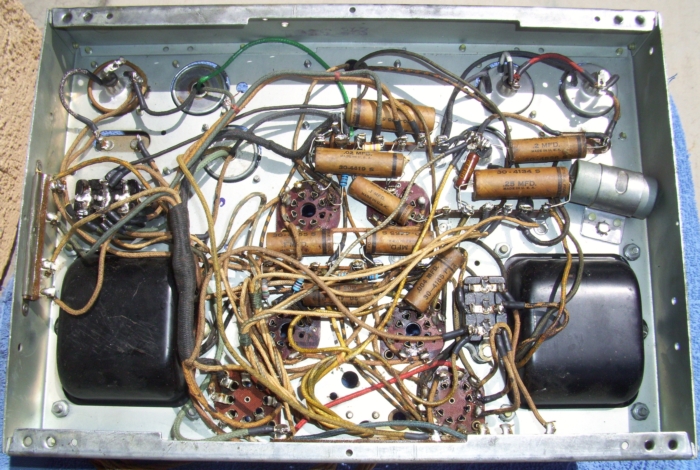
Wanted to show you guys the before and after.
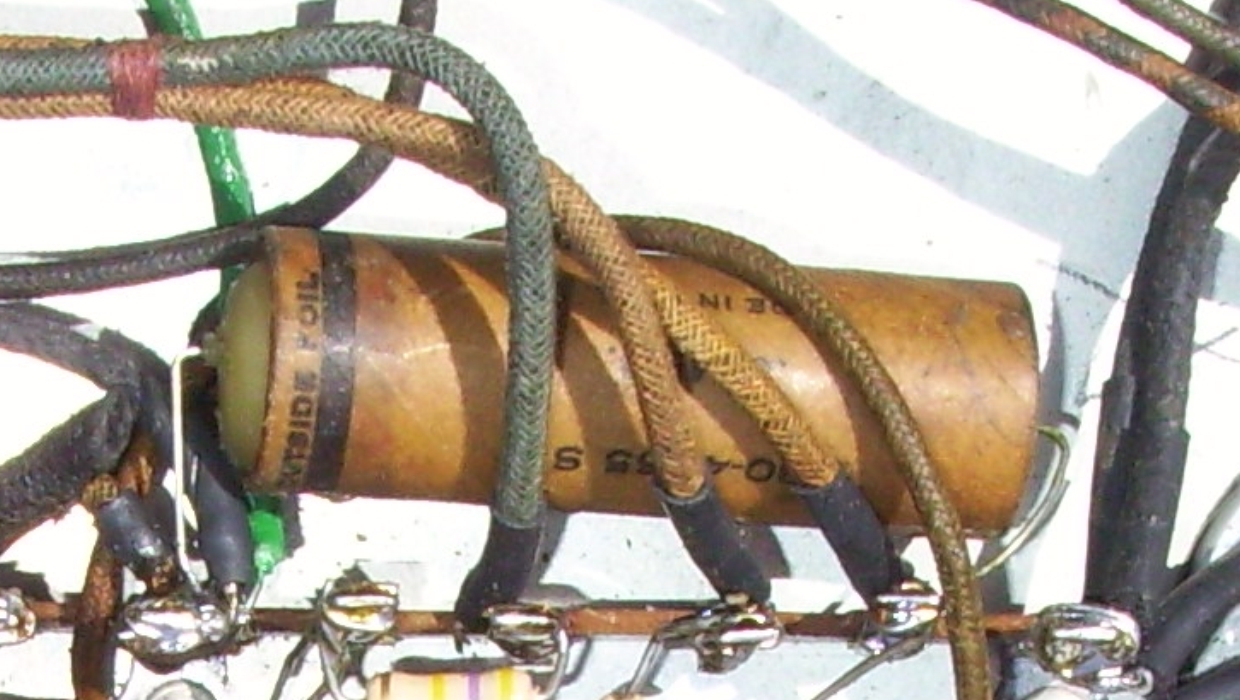
Replaced all resistors and restuffed all caps

More to come

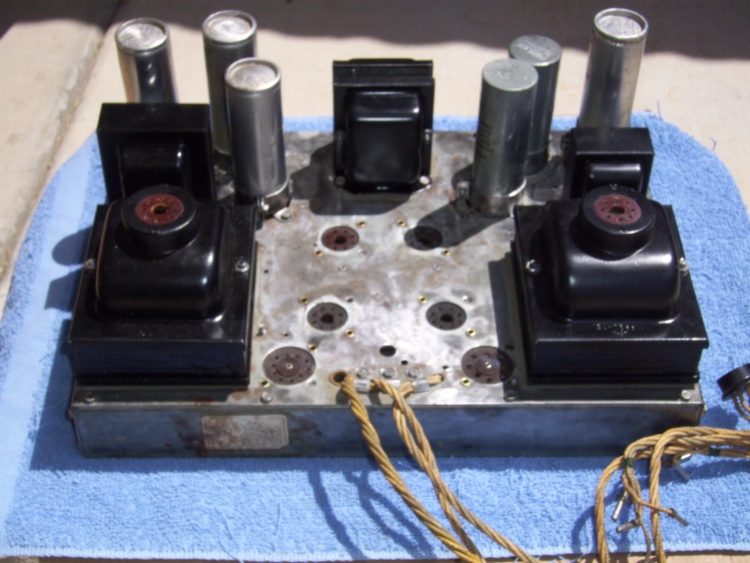
camman
Edit: I used beeswax and filled each end of all wax caps.
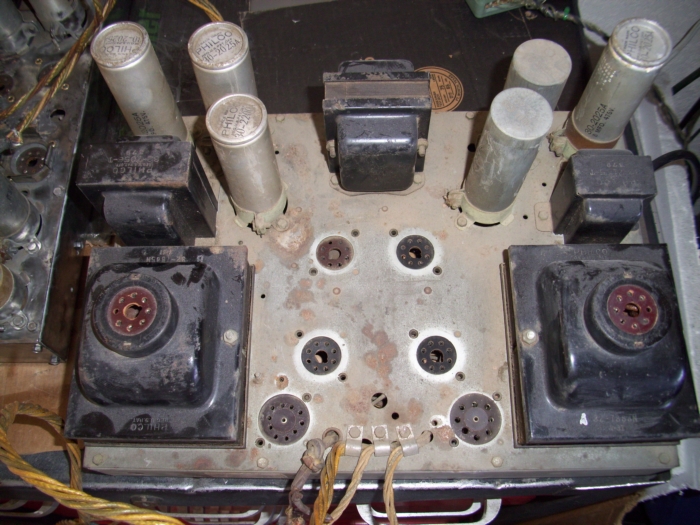
Top of chassis added
(This post was last modified: 05-09-2012, 02:20 PM by
camman.)
Posts: 2,128
Threads: 18
Joined: Oct 2008
City: Merrick, Long Island, NY
(05-08-2012, 11:10 AM)camman Wrote: Wanted to show you guys the before and after.
Replaced all resistors and restuffed all caps 
More to come 
camman
Please put a dated note in the set stating what you have done and when, nd shae your secret for replicating the grunge on the restuffed caps.
Posts: 7,294
Threads: 268
Joined: Dec 2009
City: Roslyn Pa
Looks the same! Great job!!
Terry
Posts: 16,307
Threads: 569
Joined: Oct 2011
City: Jackson
State, Province, Country: NJ
Is there a difference? Should there be any? If the purpose were to make all that's been done barely noticeable, I command you for that

If you re-stuffed the paper caps, great job, but then a picture at an angle to show that they have been re-stuffed would help; otherwise there is nothing I personally can tell that was done to this chassis.
"Find 10 discrepancies" for kids comes to mind

Posts: 804
Threads: 42
Joined: Dec 2008
City: Chicago, IL
Nice job!
I don't mean to nitpick, but I do see one discrepancy - the modern blue resistors

Once, I molded a few replica "dogbones" using this technique:
http://www.radiomuseum.org/forum/replica...stors.html
It was an interesting little project, but time consuming for sure.
I wonder if the technique could be adapted to these later cylindrical style resistors ?
(This post was last modified: 05-08-2012, 04:03 PM by
Bob Andersen.)
Posts: 16,307
Threads: 569
Joined: Oct 2011
City: Jackson
State, Province, Country: NJ
I think if the power rating is not very critical, and also considering that many of today's resistors are of smaller sizes than those being replaced, in some cases it may be possible to axially drill through the old dog-bone and put the new one inside.
I should try that sometime.
Posts: 7
Threads: 3
Joined: Mar 2012
City: usa
Quote:Nice job! I don't mean to nitpick, but I do see one discrepancy - the modern blue resistors
Bandersen,
Thanks for the complement!
No dog bone style resistors in this model.
I could have used the same style carbon composition resistors.
C.C. is old technology (get noisy, moisture susceptible ect.) and not the long term reliability as carbon or metal film.
That is the best excuse I can come up with.

camman
Posts: 804
Threads: 42
Joined: Dec 2008
City: Chicago, IL
Sure, I use metal film / oxide when replacing too. I was just wondering if anyone had tried replicating the late 30s style resistors. I might give it a try in some upcoming projects.


![[-] [-]](https://philcoradio.com/phorum/images/bootbb/collapse.png)


