09-15-2024, 05:30 PM
Good afternoon, folks!
It's been a couple of weeks since I've posted any update on the 46-480 cabinet, so I have got quite a lot to catch up on! I will try to keep this all in chronological order. After the last post, I fixed the crack in the trim around the dial. I had recently stripped the exterior of the cabinet, and thought it was smelling much better; however, I noticed after the smell of paint stripper faded that the cabinet still smelled pretty musty and like cigarette smoke. Thus, I decided to strip the interior as well. I'm not sure if the interior paint was original, but it had been painted brown. I liked the idea of repainting the interior as a means of sealing the wood, so I decided to repaint it a light brown or tan color. I covered the original detail stickers with newspaper so that they would still be visible after repainting. And, at long last, the bad smell was gone!
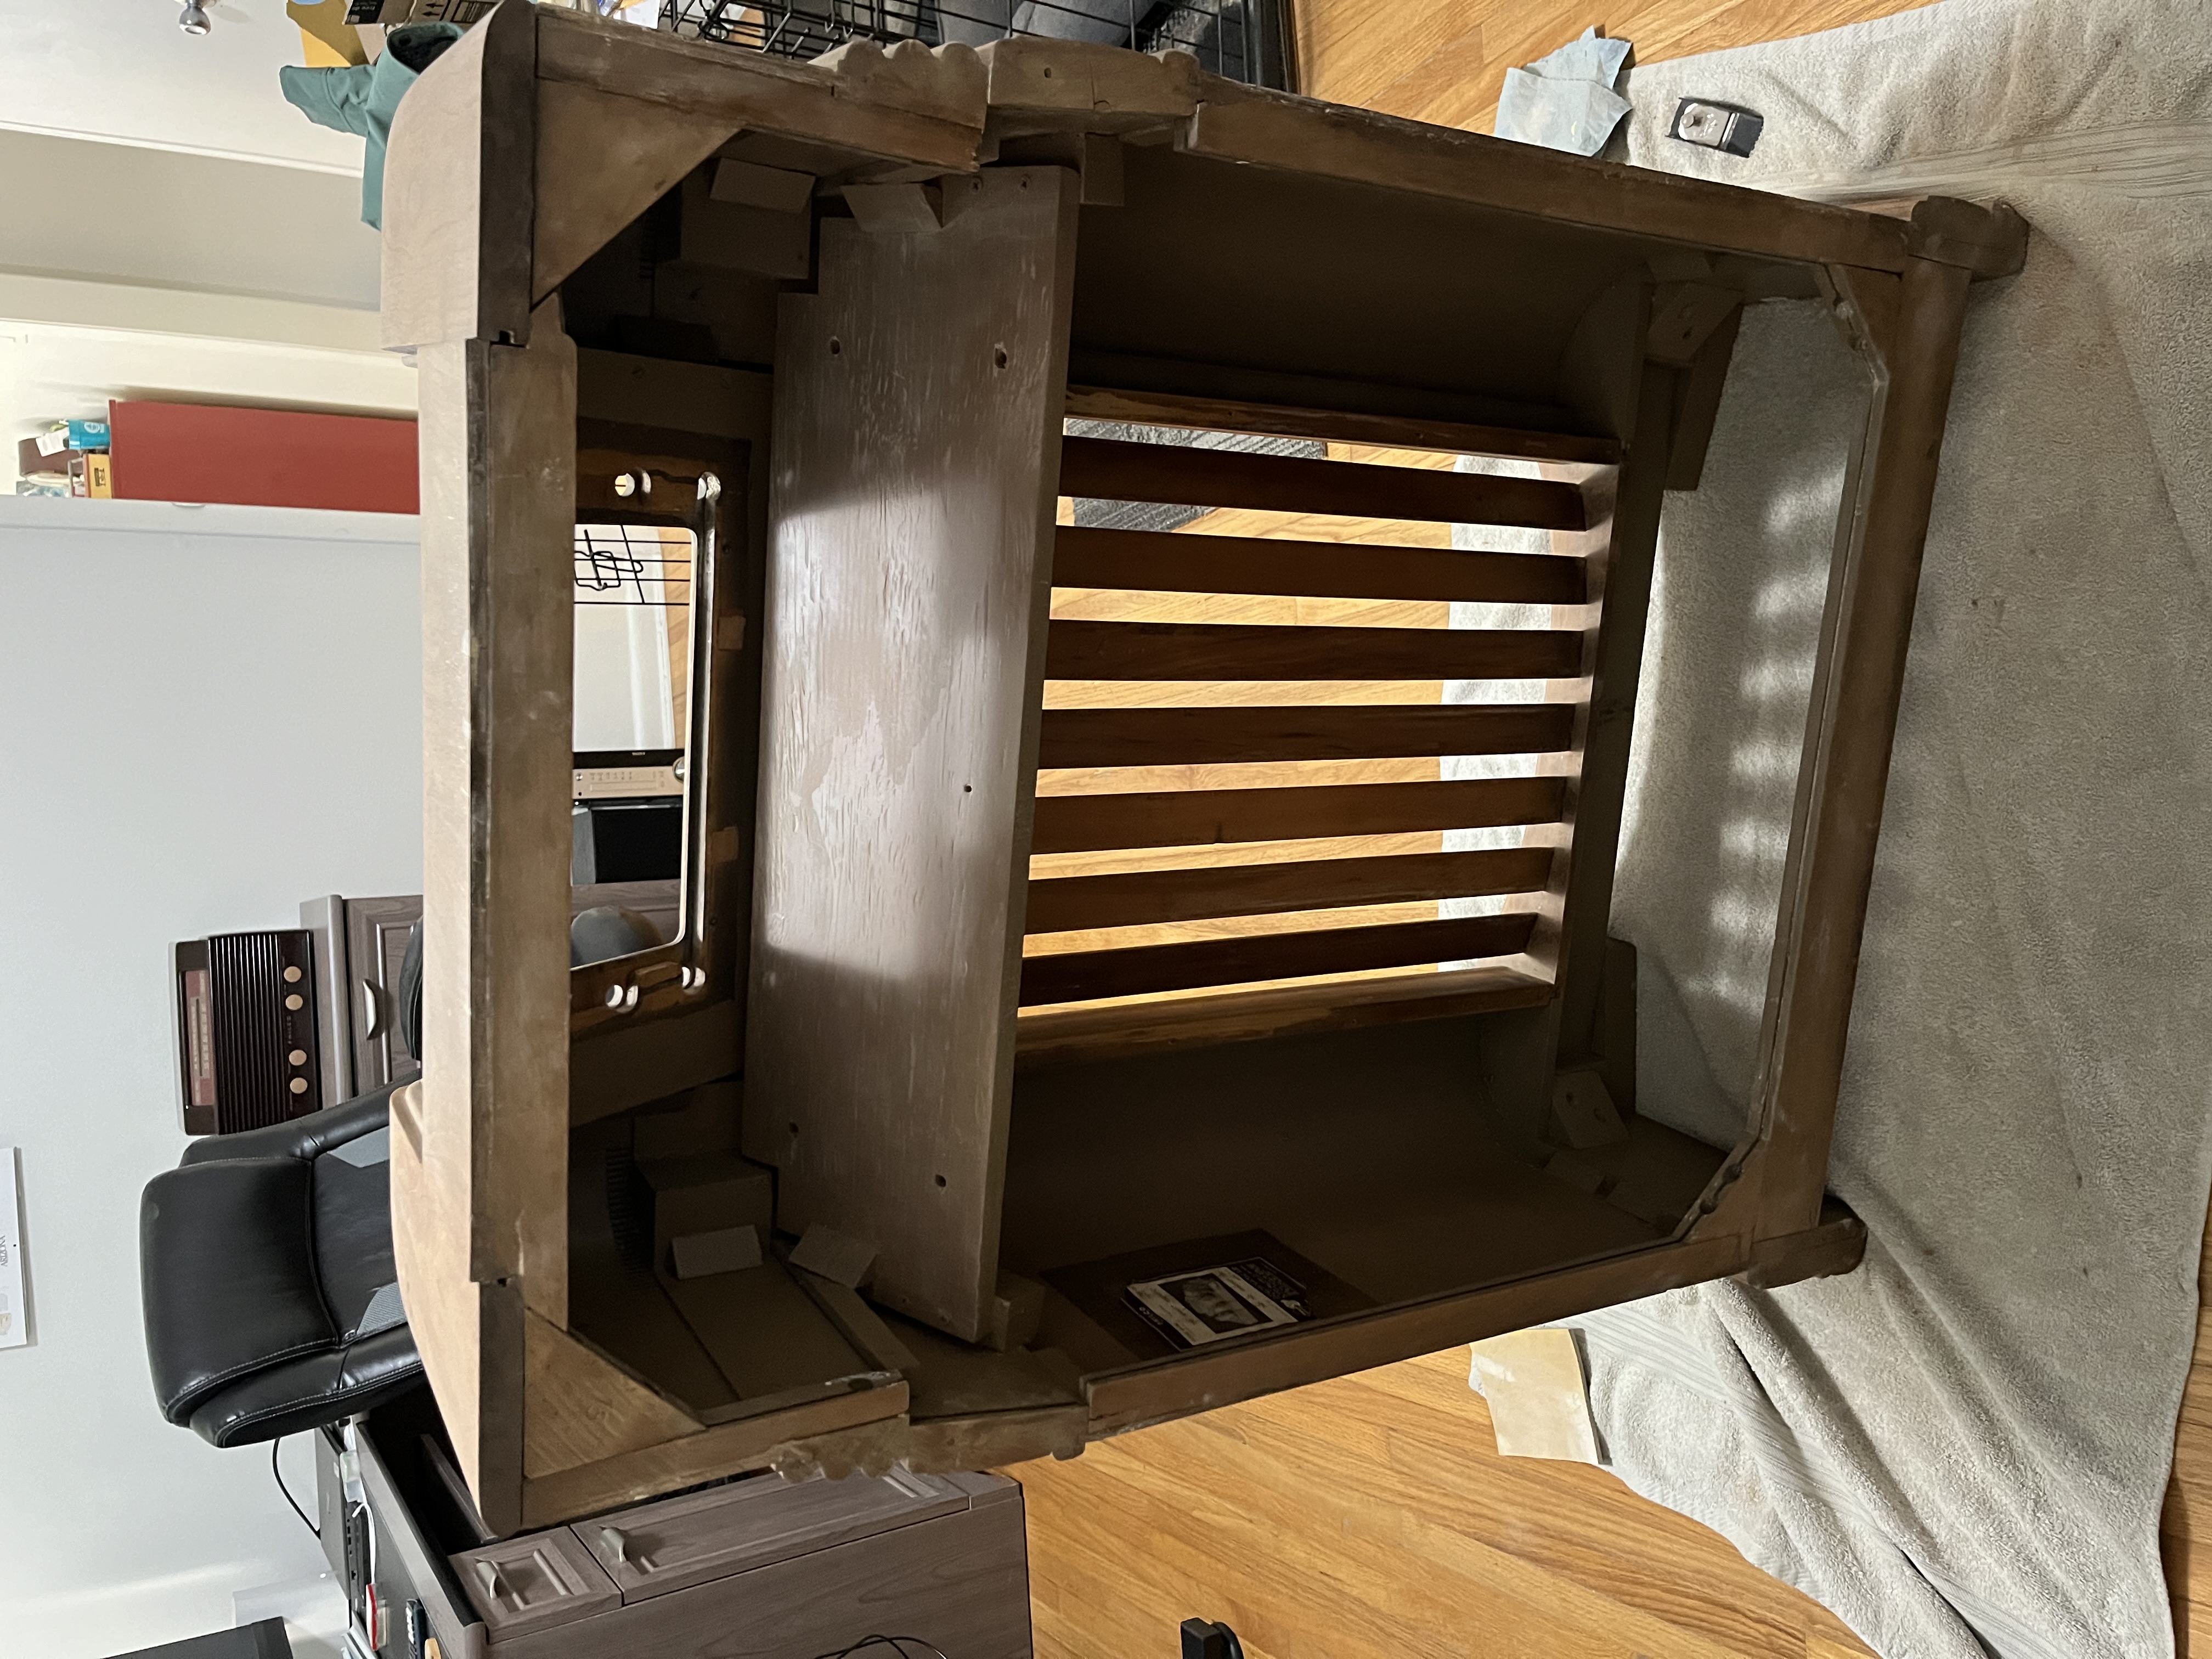
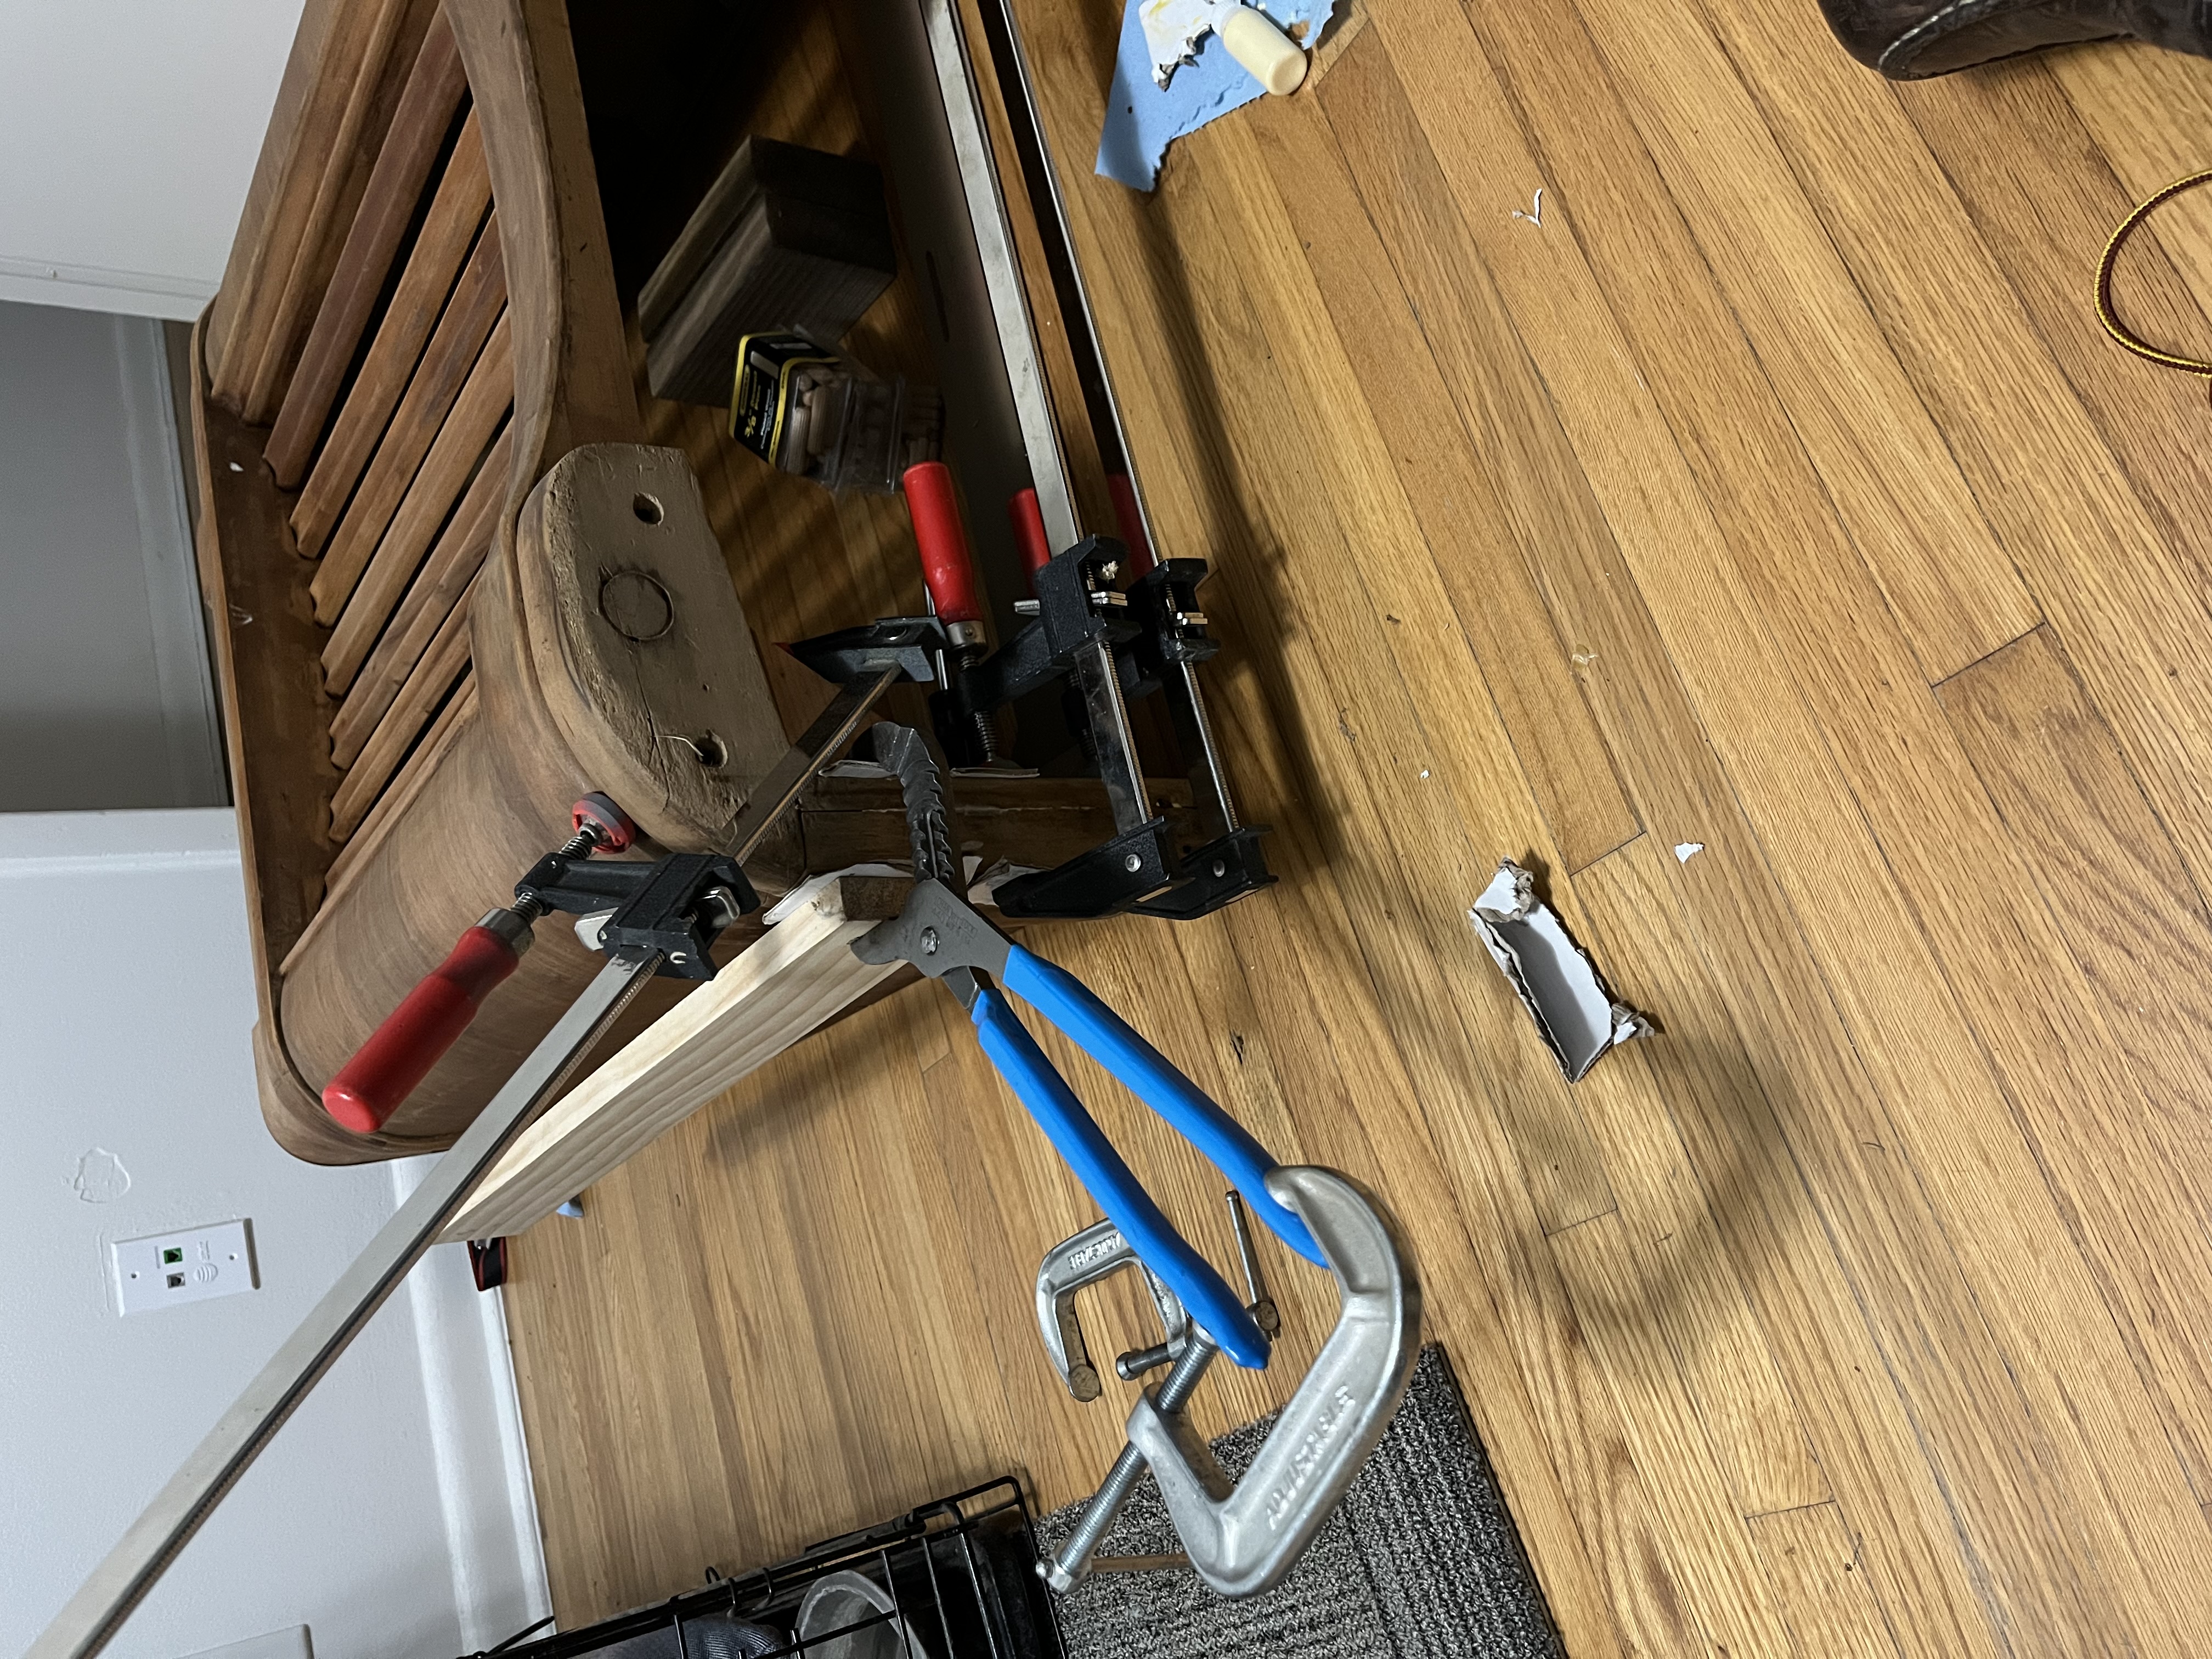
After that, I continued on with some structural repairs. I repaired the corners in back of the cabinet which connect the top of the radio to the sides. I have also replaced roughly half of the wood screws due to excessive rust and existing stripped heads. I repaired one of the sides of the base trim, as it had separated from the inner wood (had to get creative with one of my clamps!).
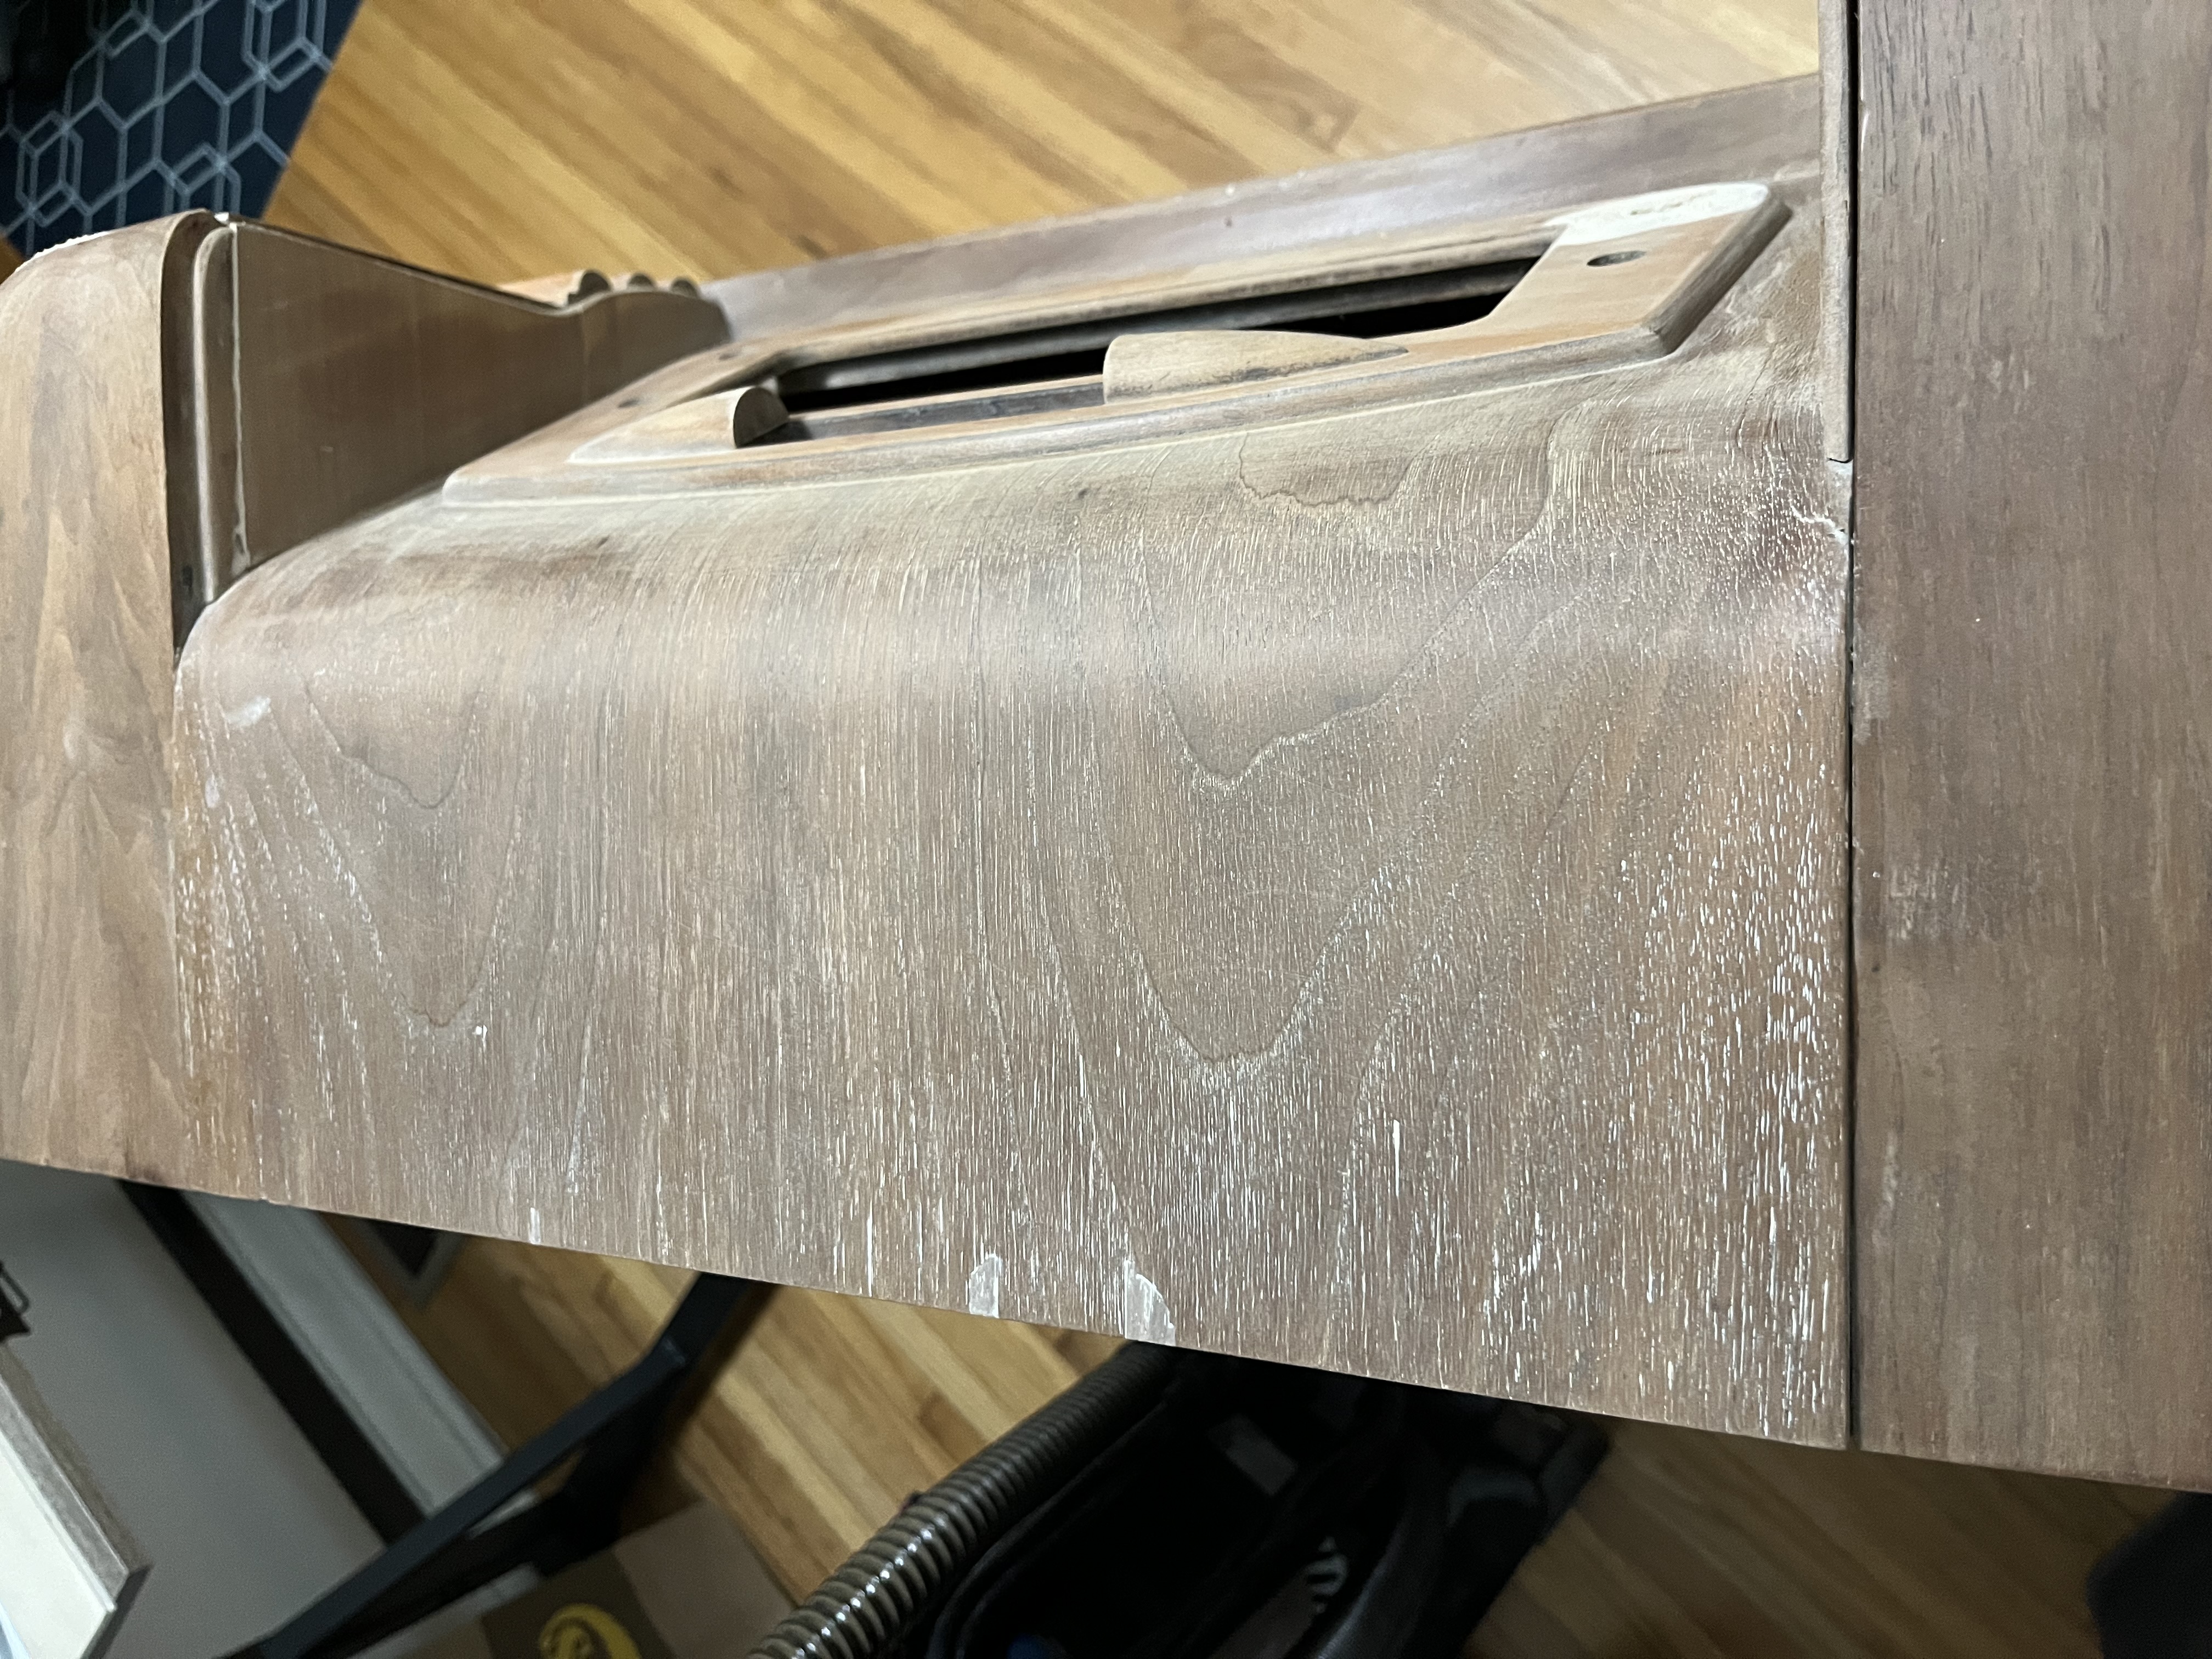
I have repaired a lot of loose veneer. Fortunately I was able to save almost all of the original, but there were a few spots which had chipped away. Here's a sample of the top of the radio, where I have repaired a few small chips.
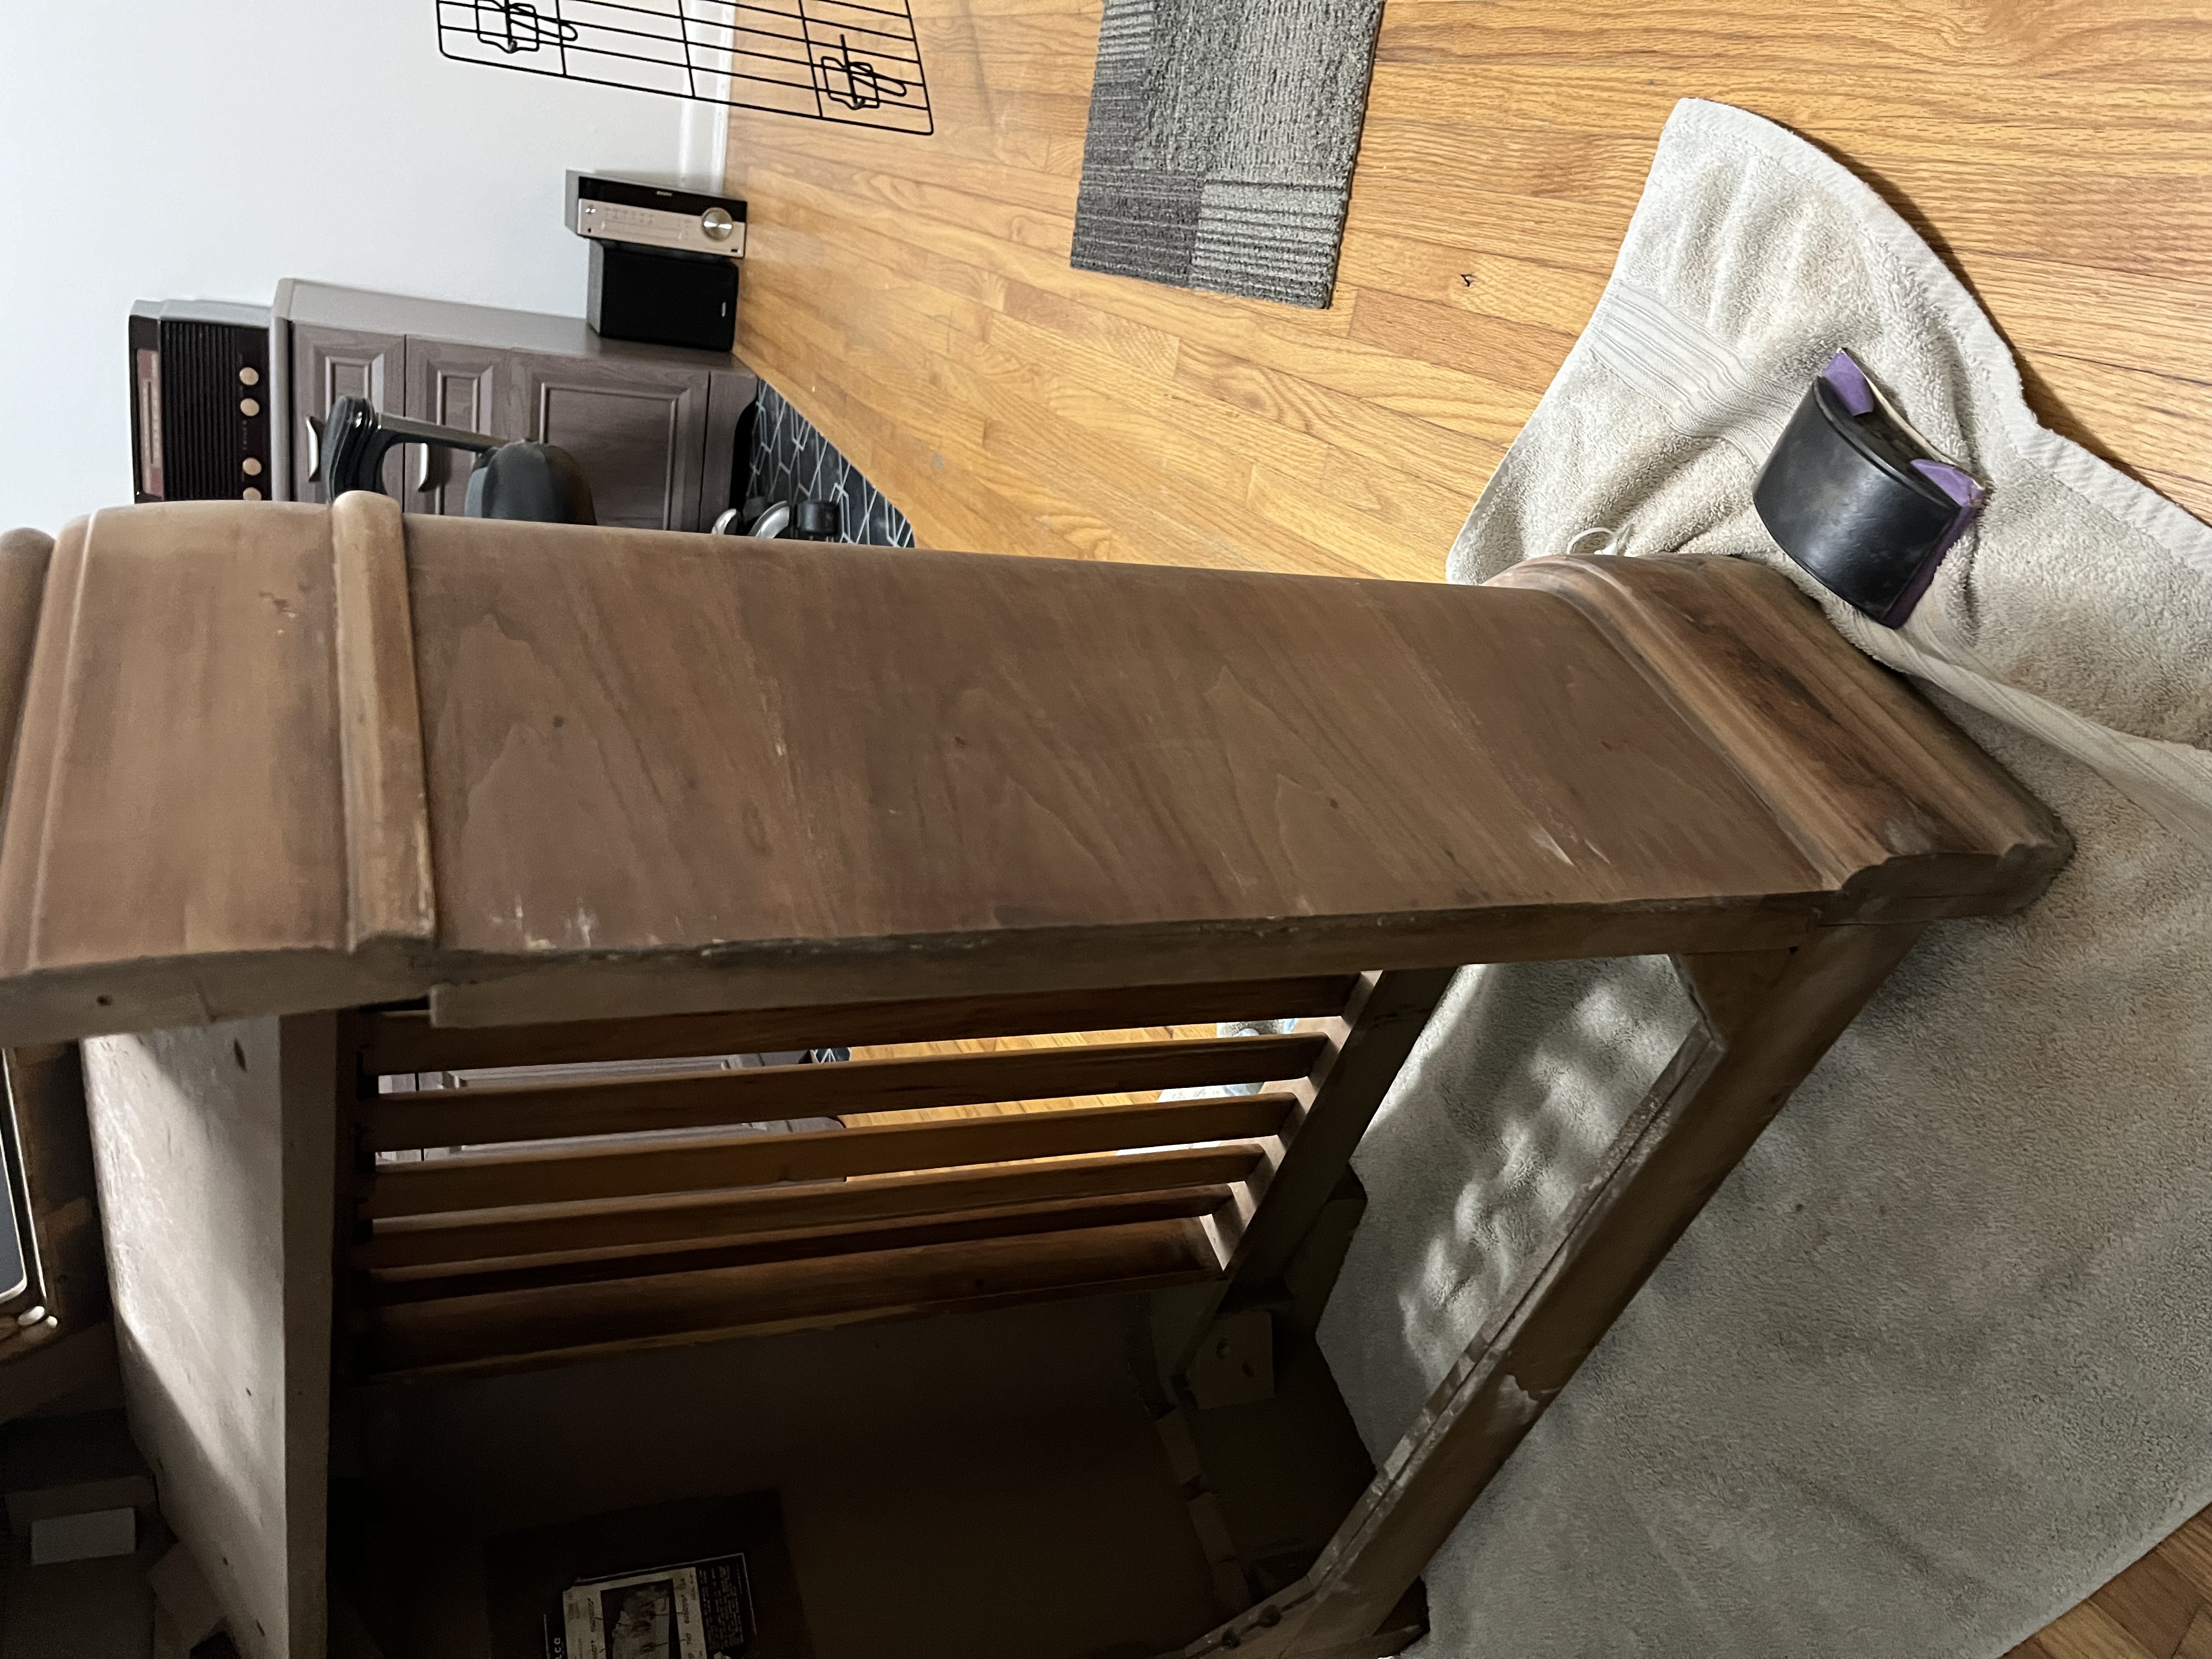
And here is a view of the left side of the cabinet (left when viewed from the front), where the veneer had been loose. I noticed that this piece was very brittle, and didn't fit back into place without some pretty noticeable gaps. So I ended up cutting off this loose piece at its base, and spliced in a patch of the same walnut veneer I had used on the top.
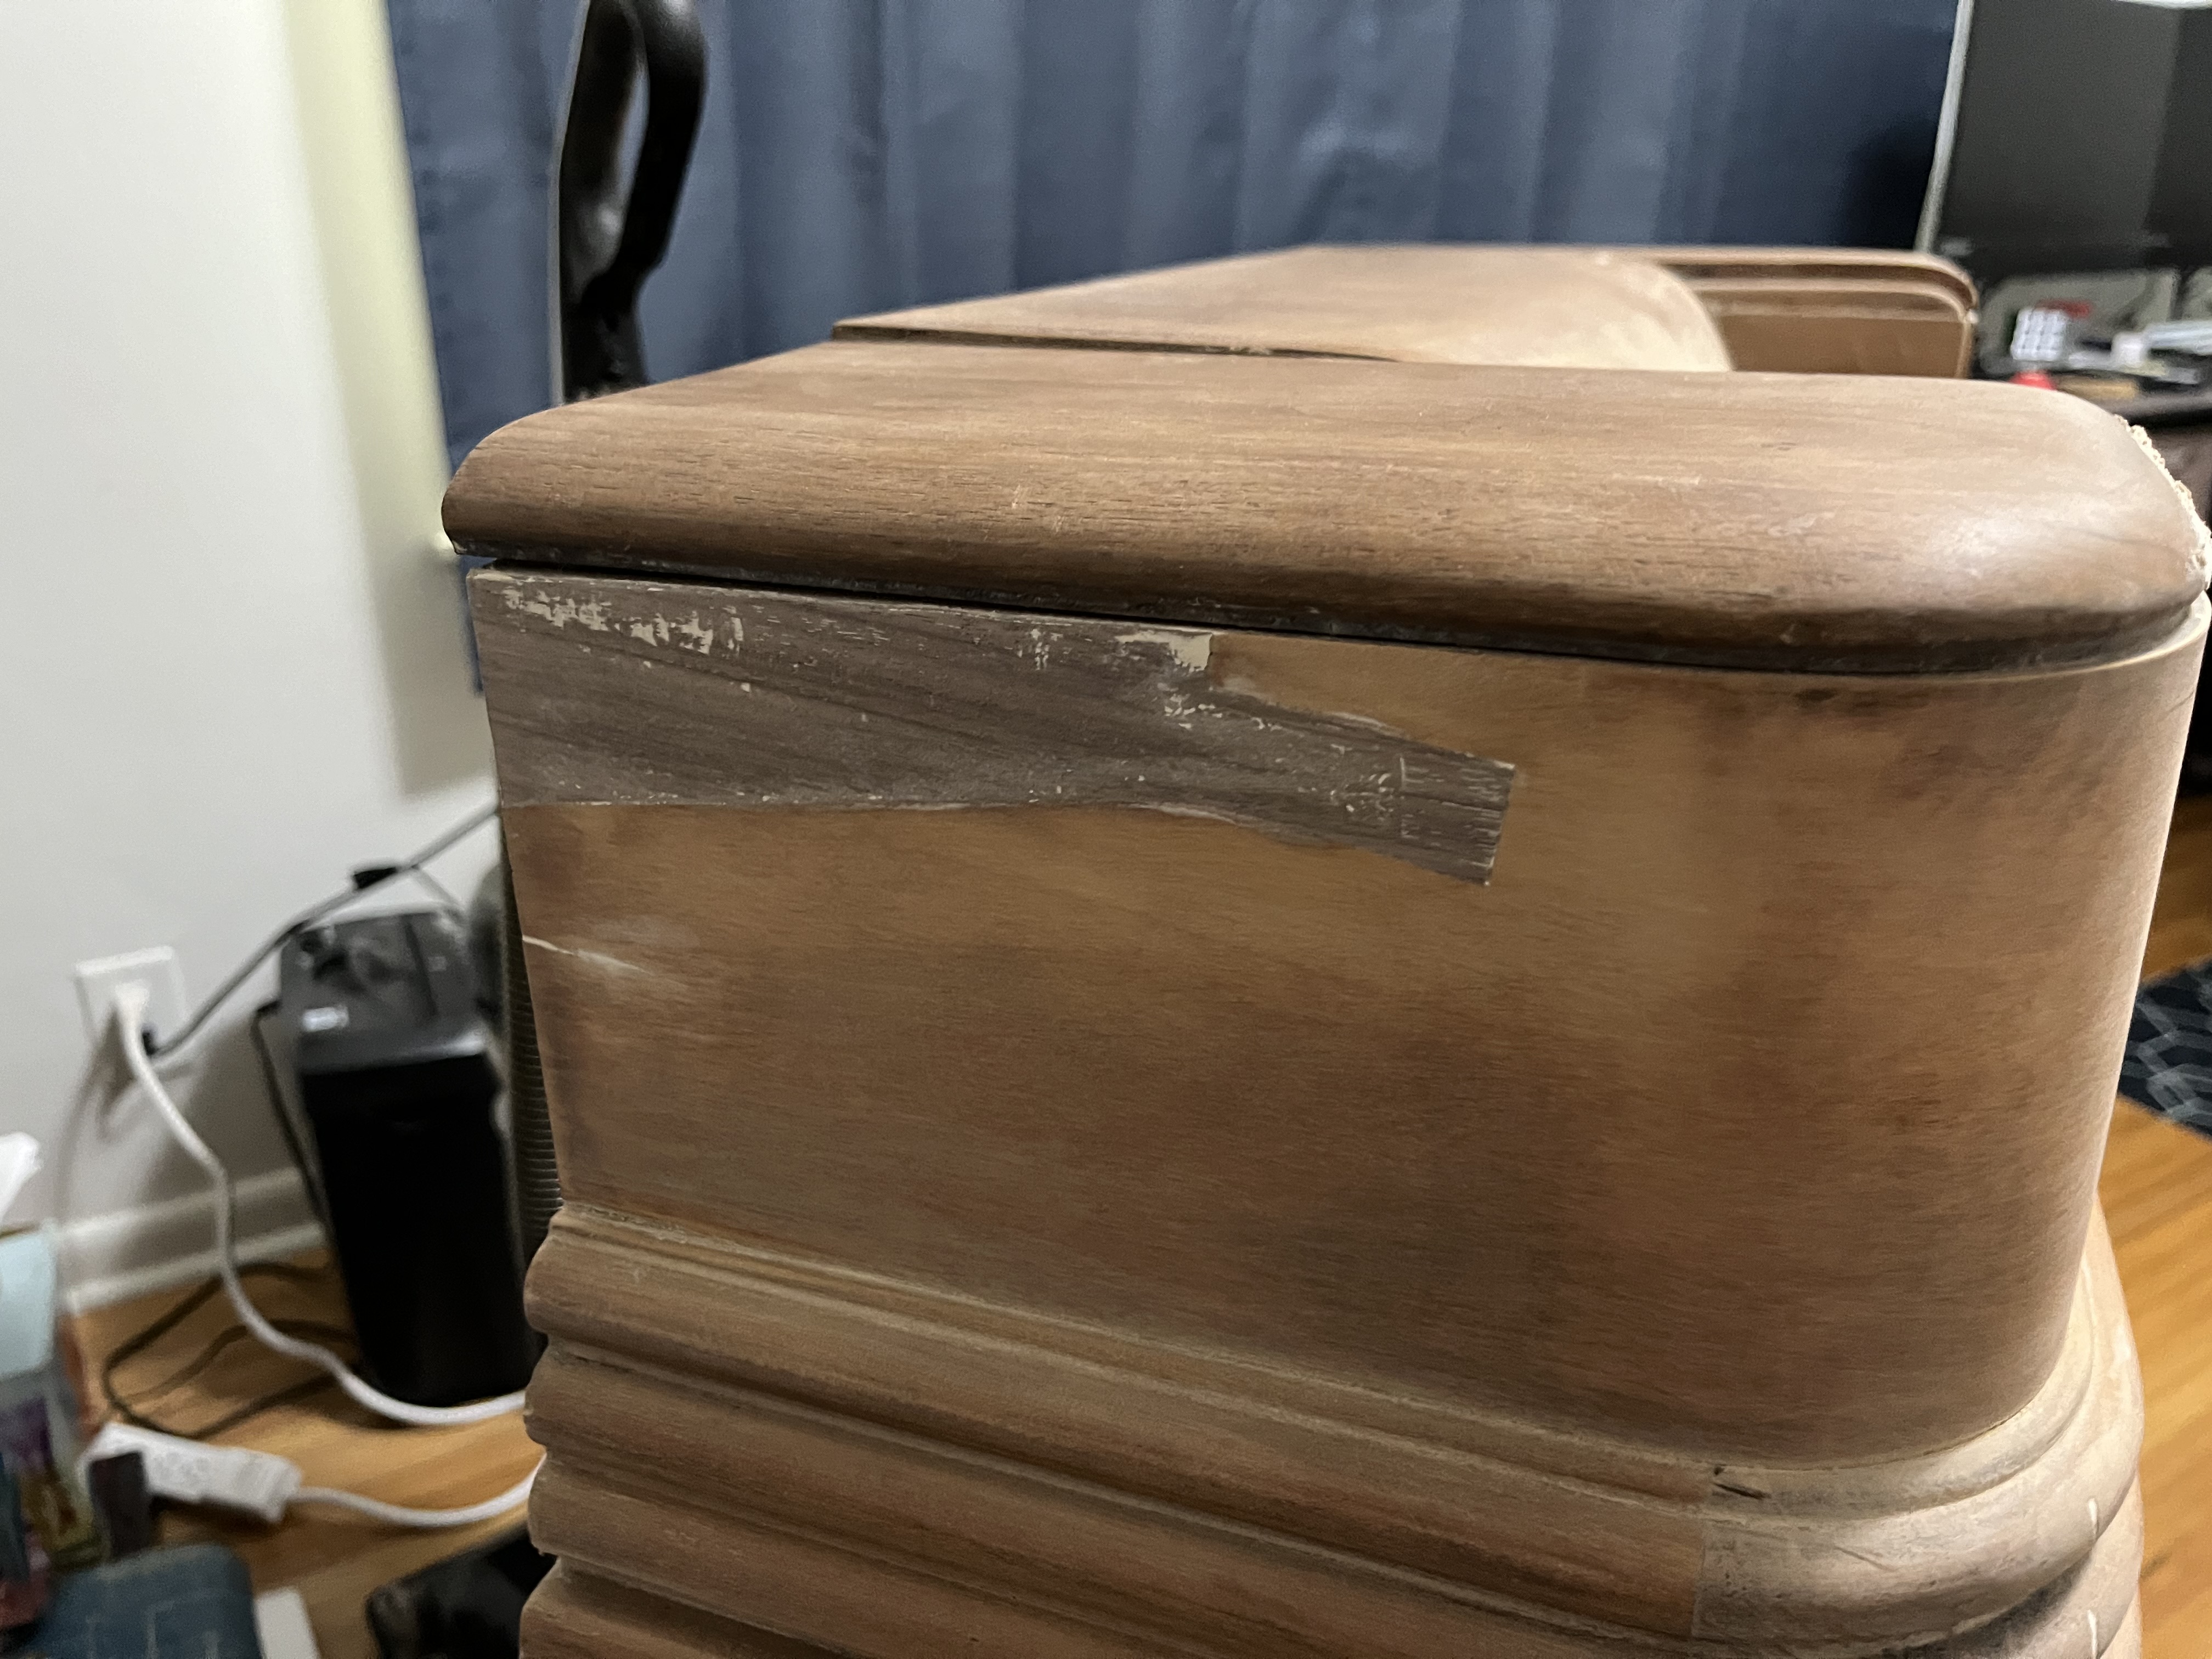
In hindsight, I wish I would have ordered a larger piece of veneer to use for patching. I bought a 2" tall reel of 100 inches, intended for edging. The only disadvantage in this situation was that I needed to angle it a bit for the grain to point upward toward the back of the cabinet (to match the direction of the grain on the rest of the original veneer), meaning that I ran out of height on the veneer to taper it where you can see that cut straight across the grain. It fits beautifully, but I don't like that cut. I feel like it will be more visible that way. But I will see what magic I can pull off on the color blending. Maybe it won't be so bad; then again, maybe I will reattempt the patch. I'd like for the splice line to look less obvious.
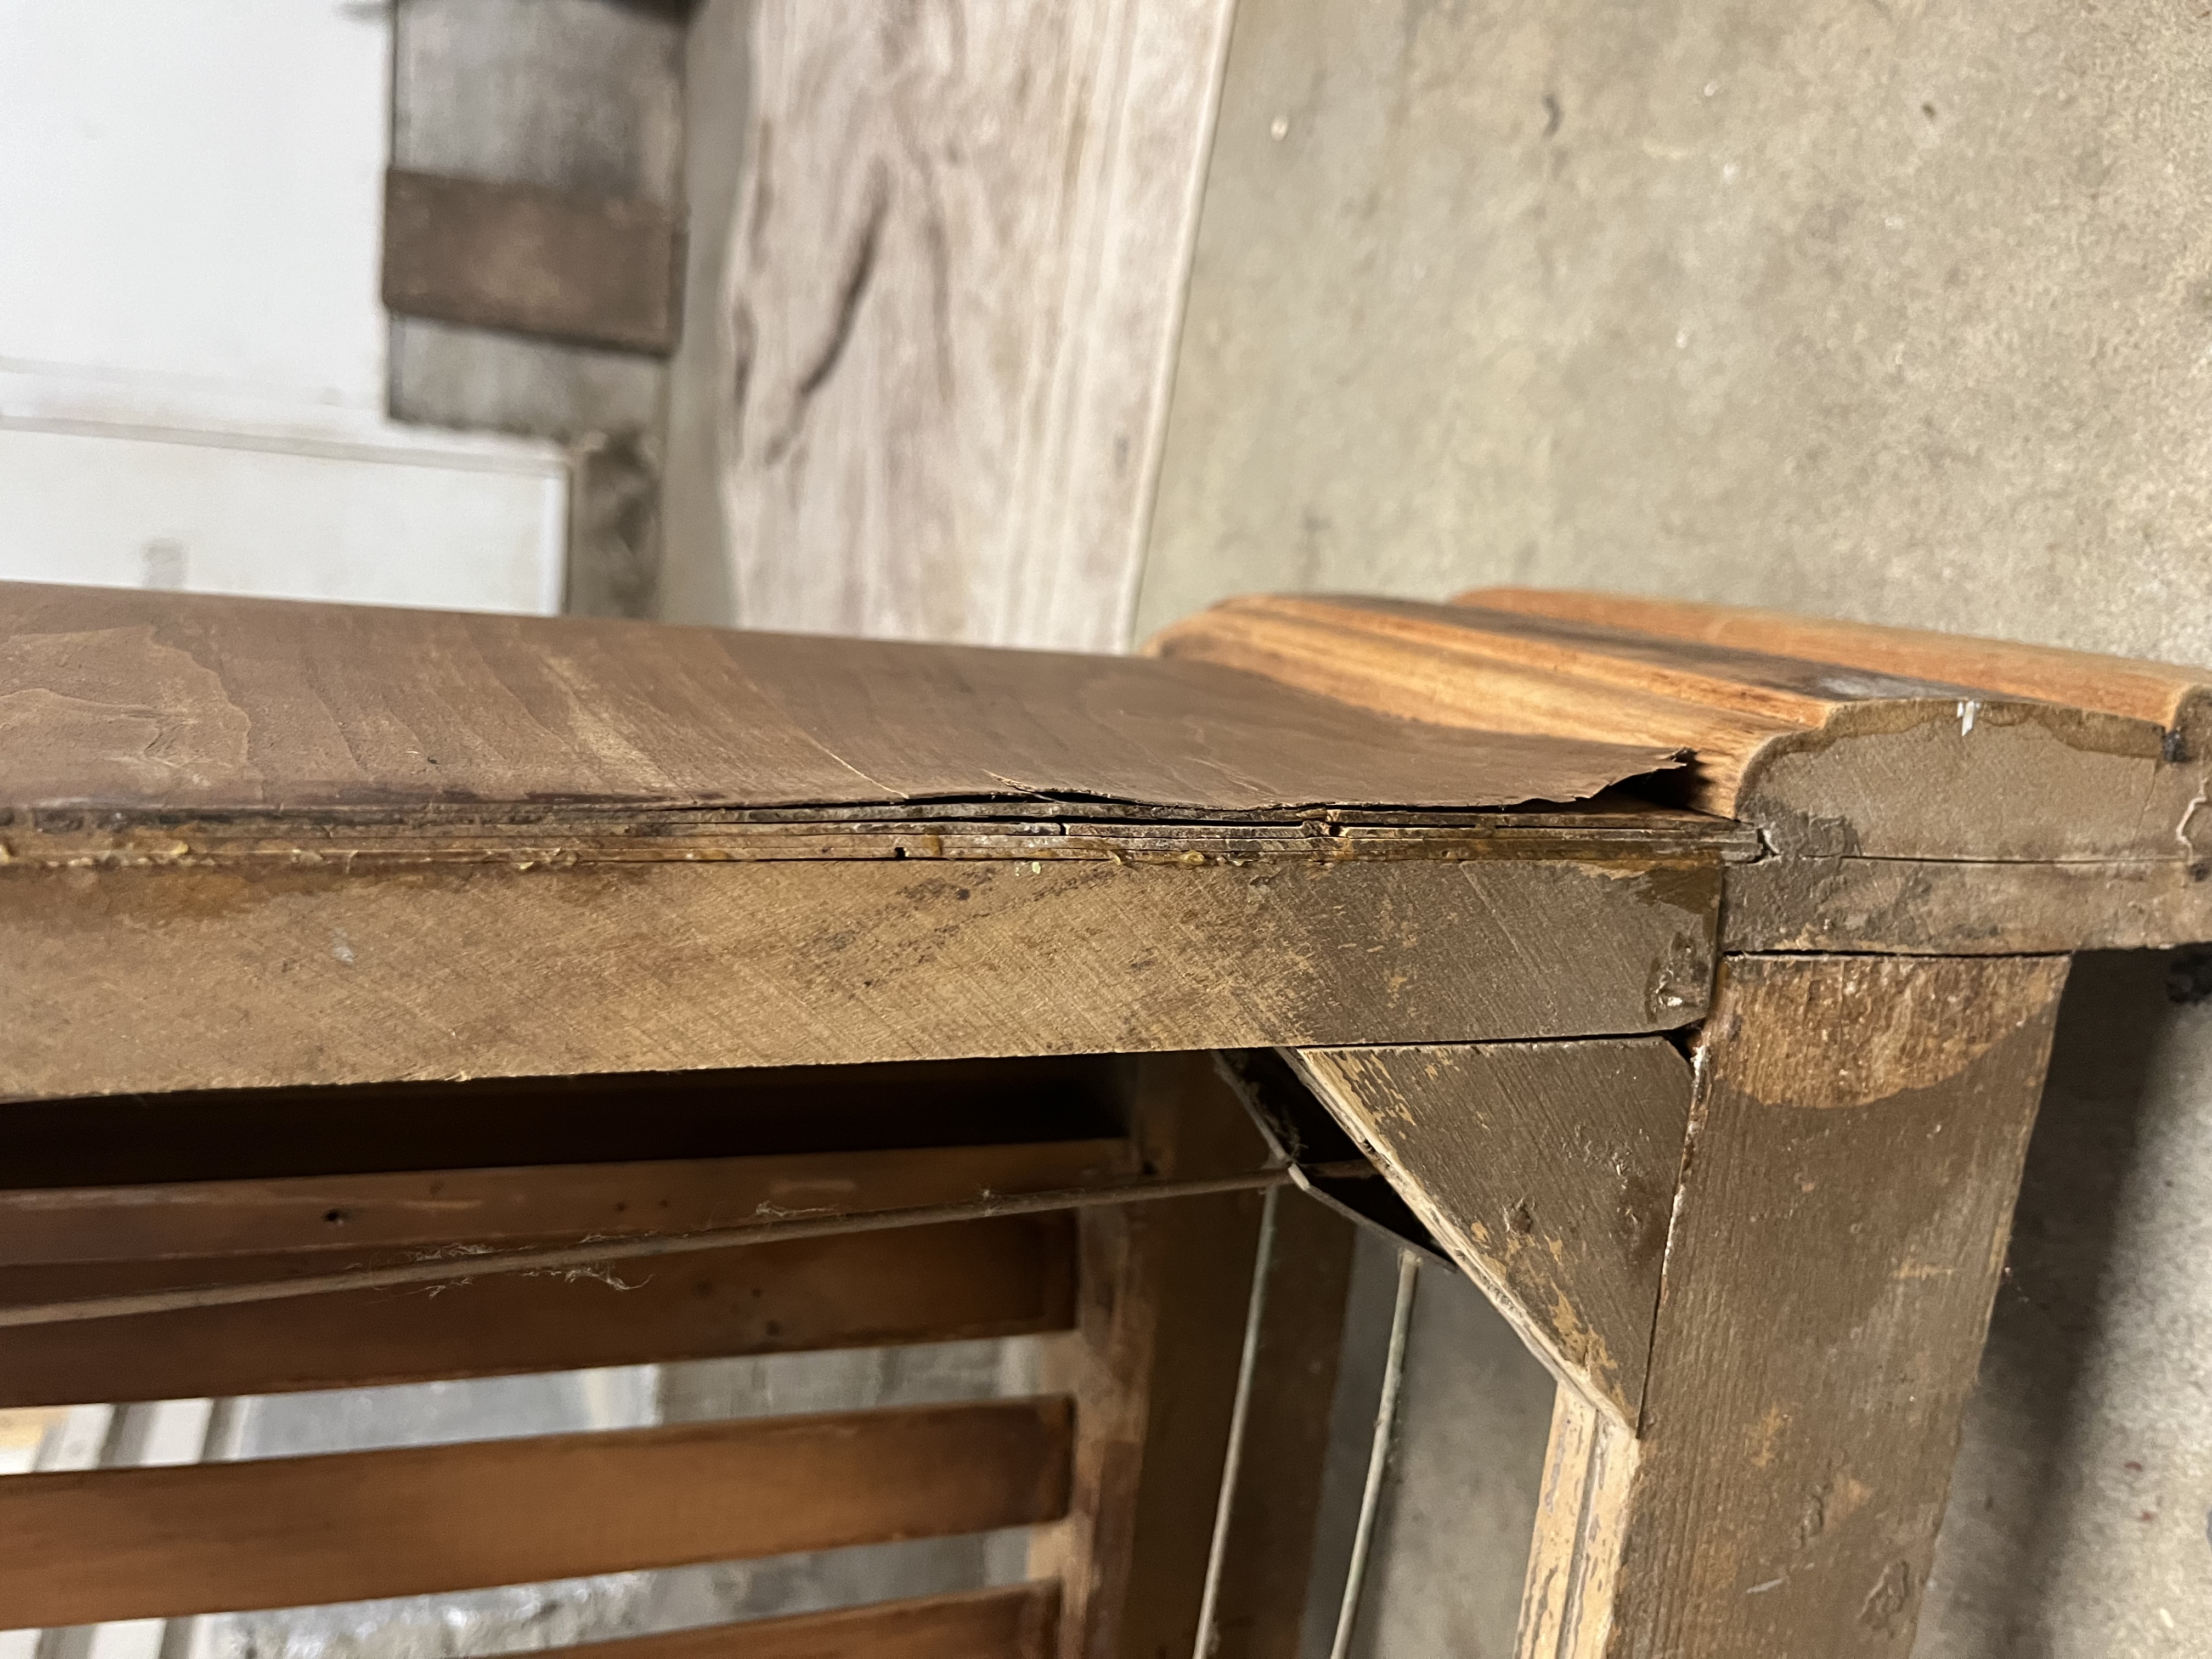
I also reglued all of the veneer which was loose on the lower part of that side. Here's a before and after.
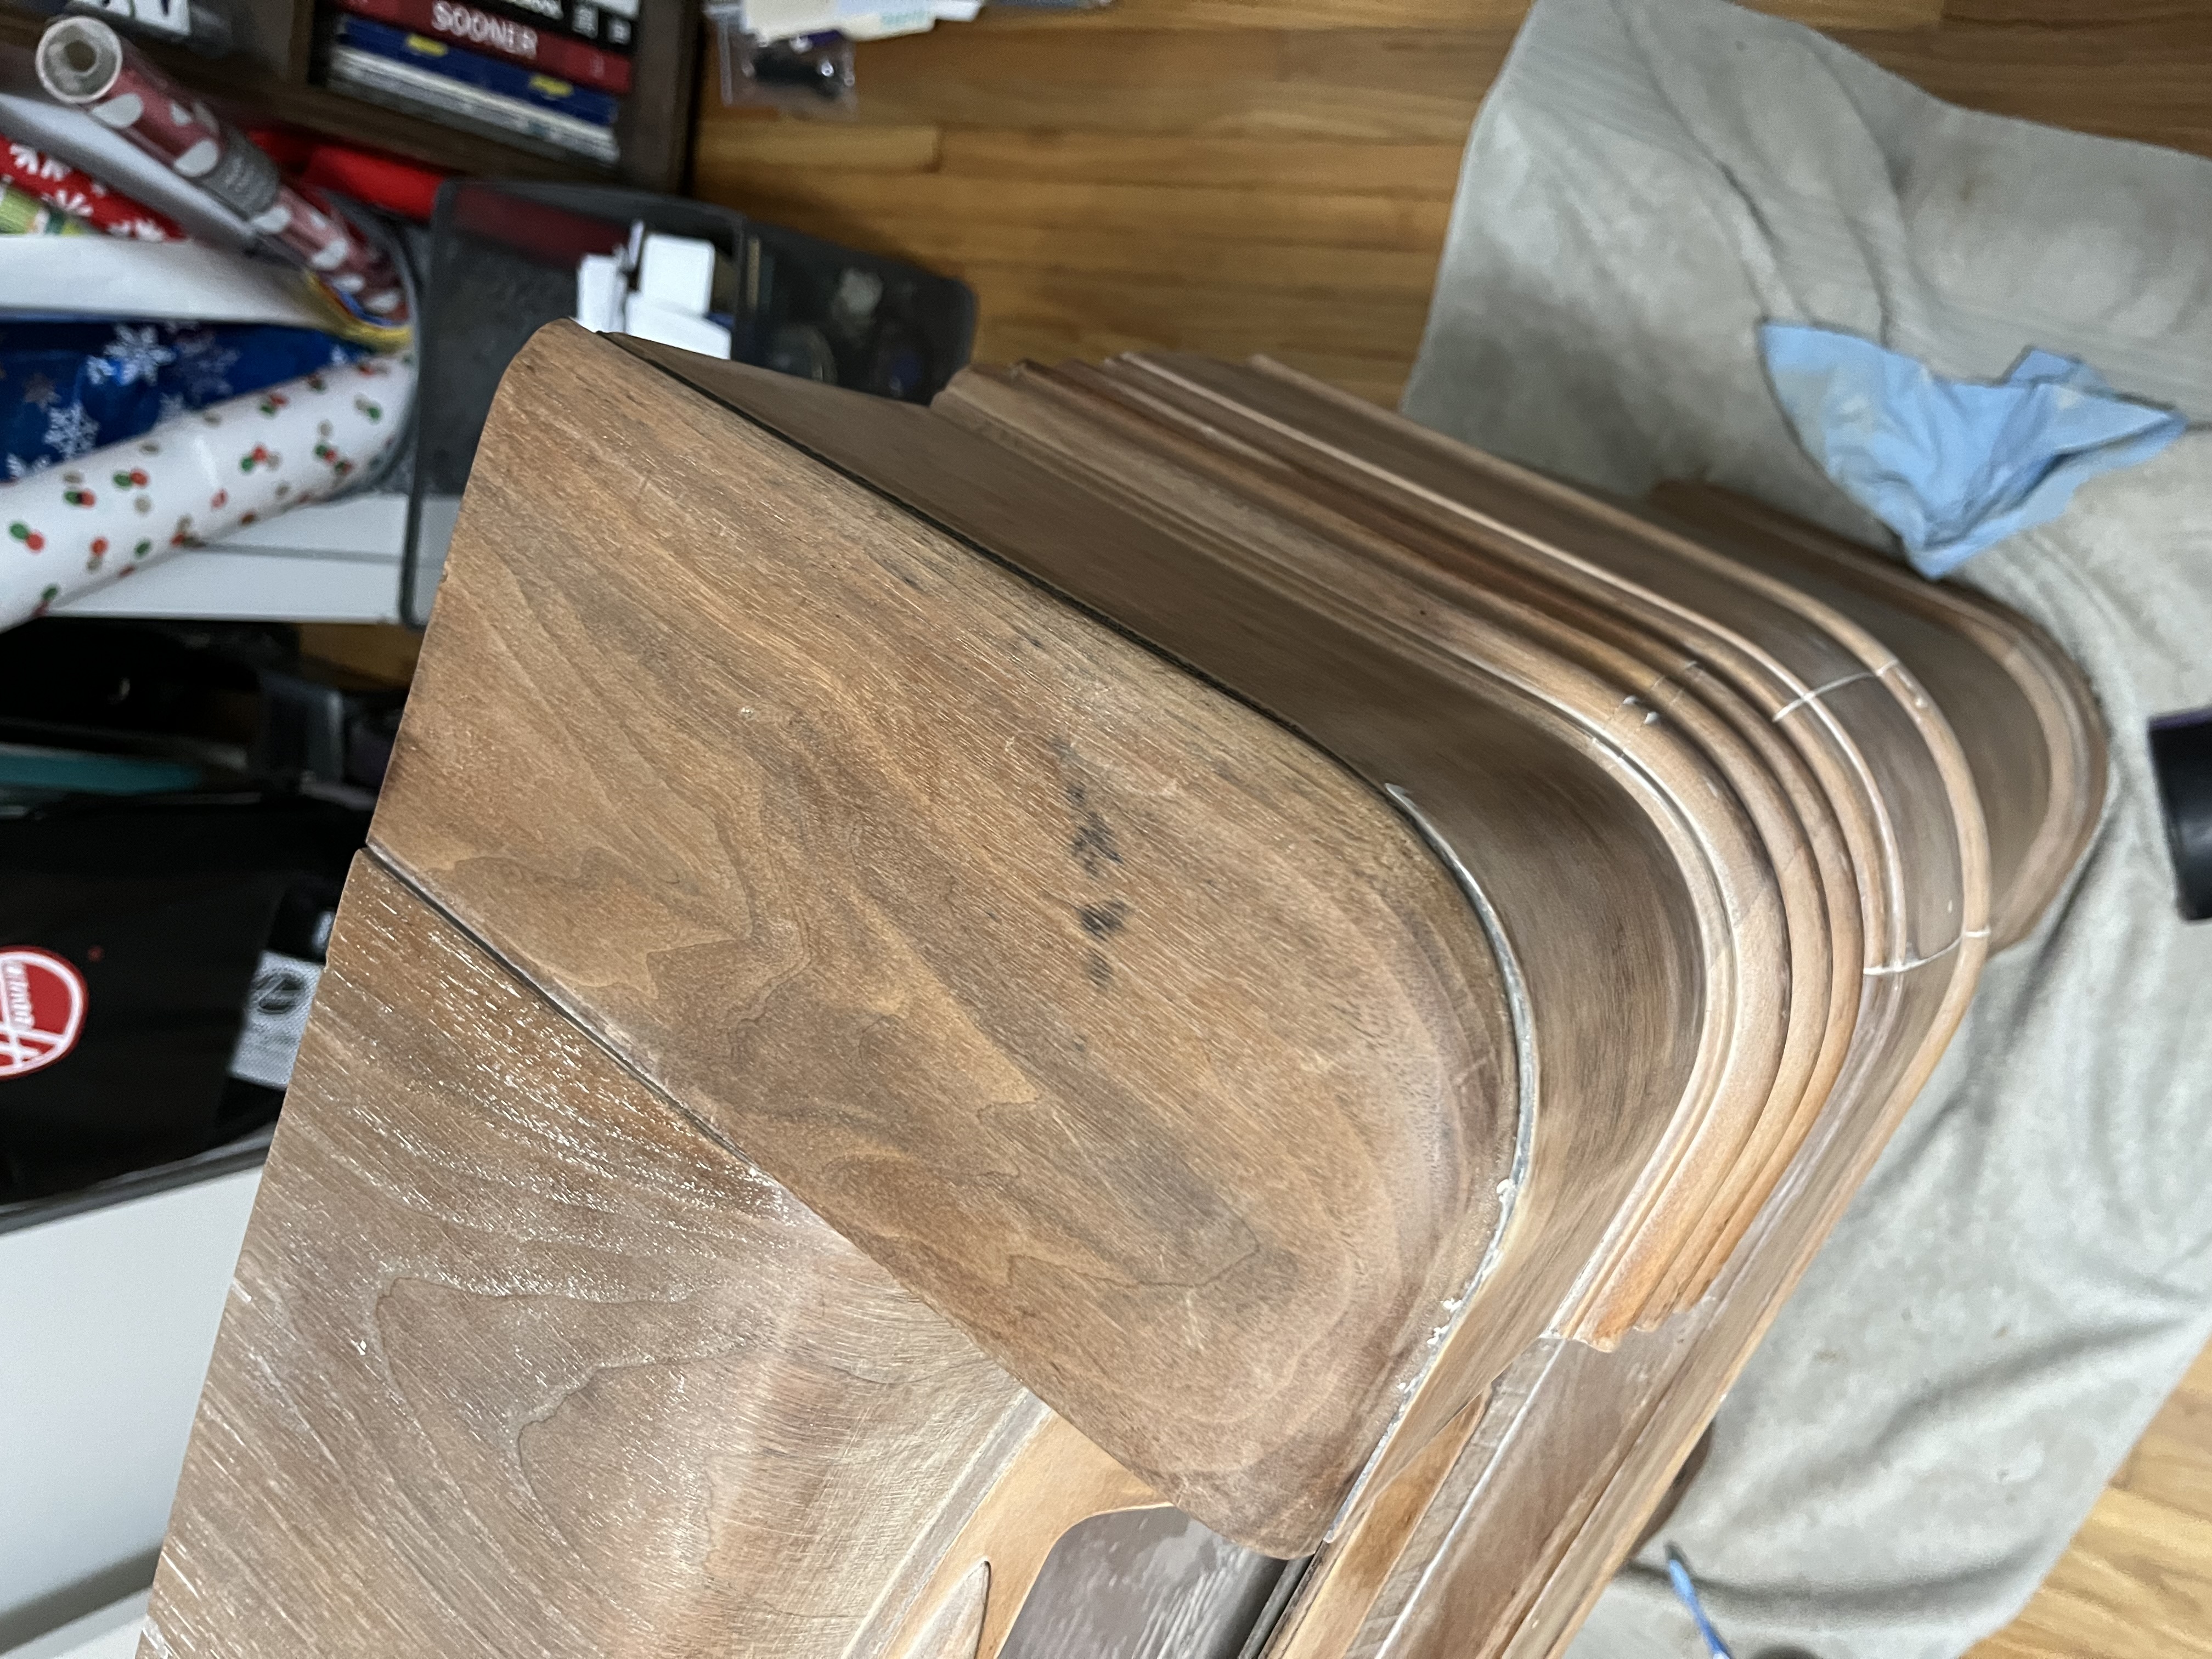
Here's a close-up of the black stain on top which was under the water ring mark. I have applied about 15 to 20 coats of vinegar, and I am starting to notice it fading. I will keep at it.
I have also ordered and received the replacement speaker fabric, purchased from Michael Katz. I ordered a 20" x 24" piece of the type 11A cloth, and it's beautiful!

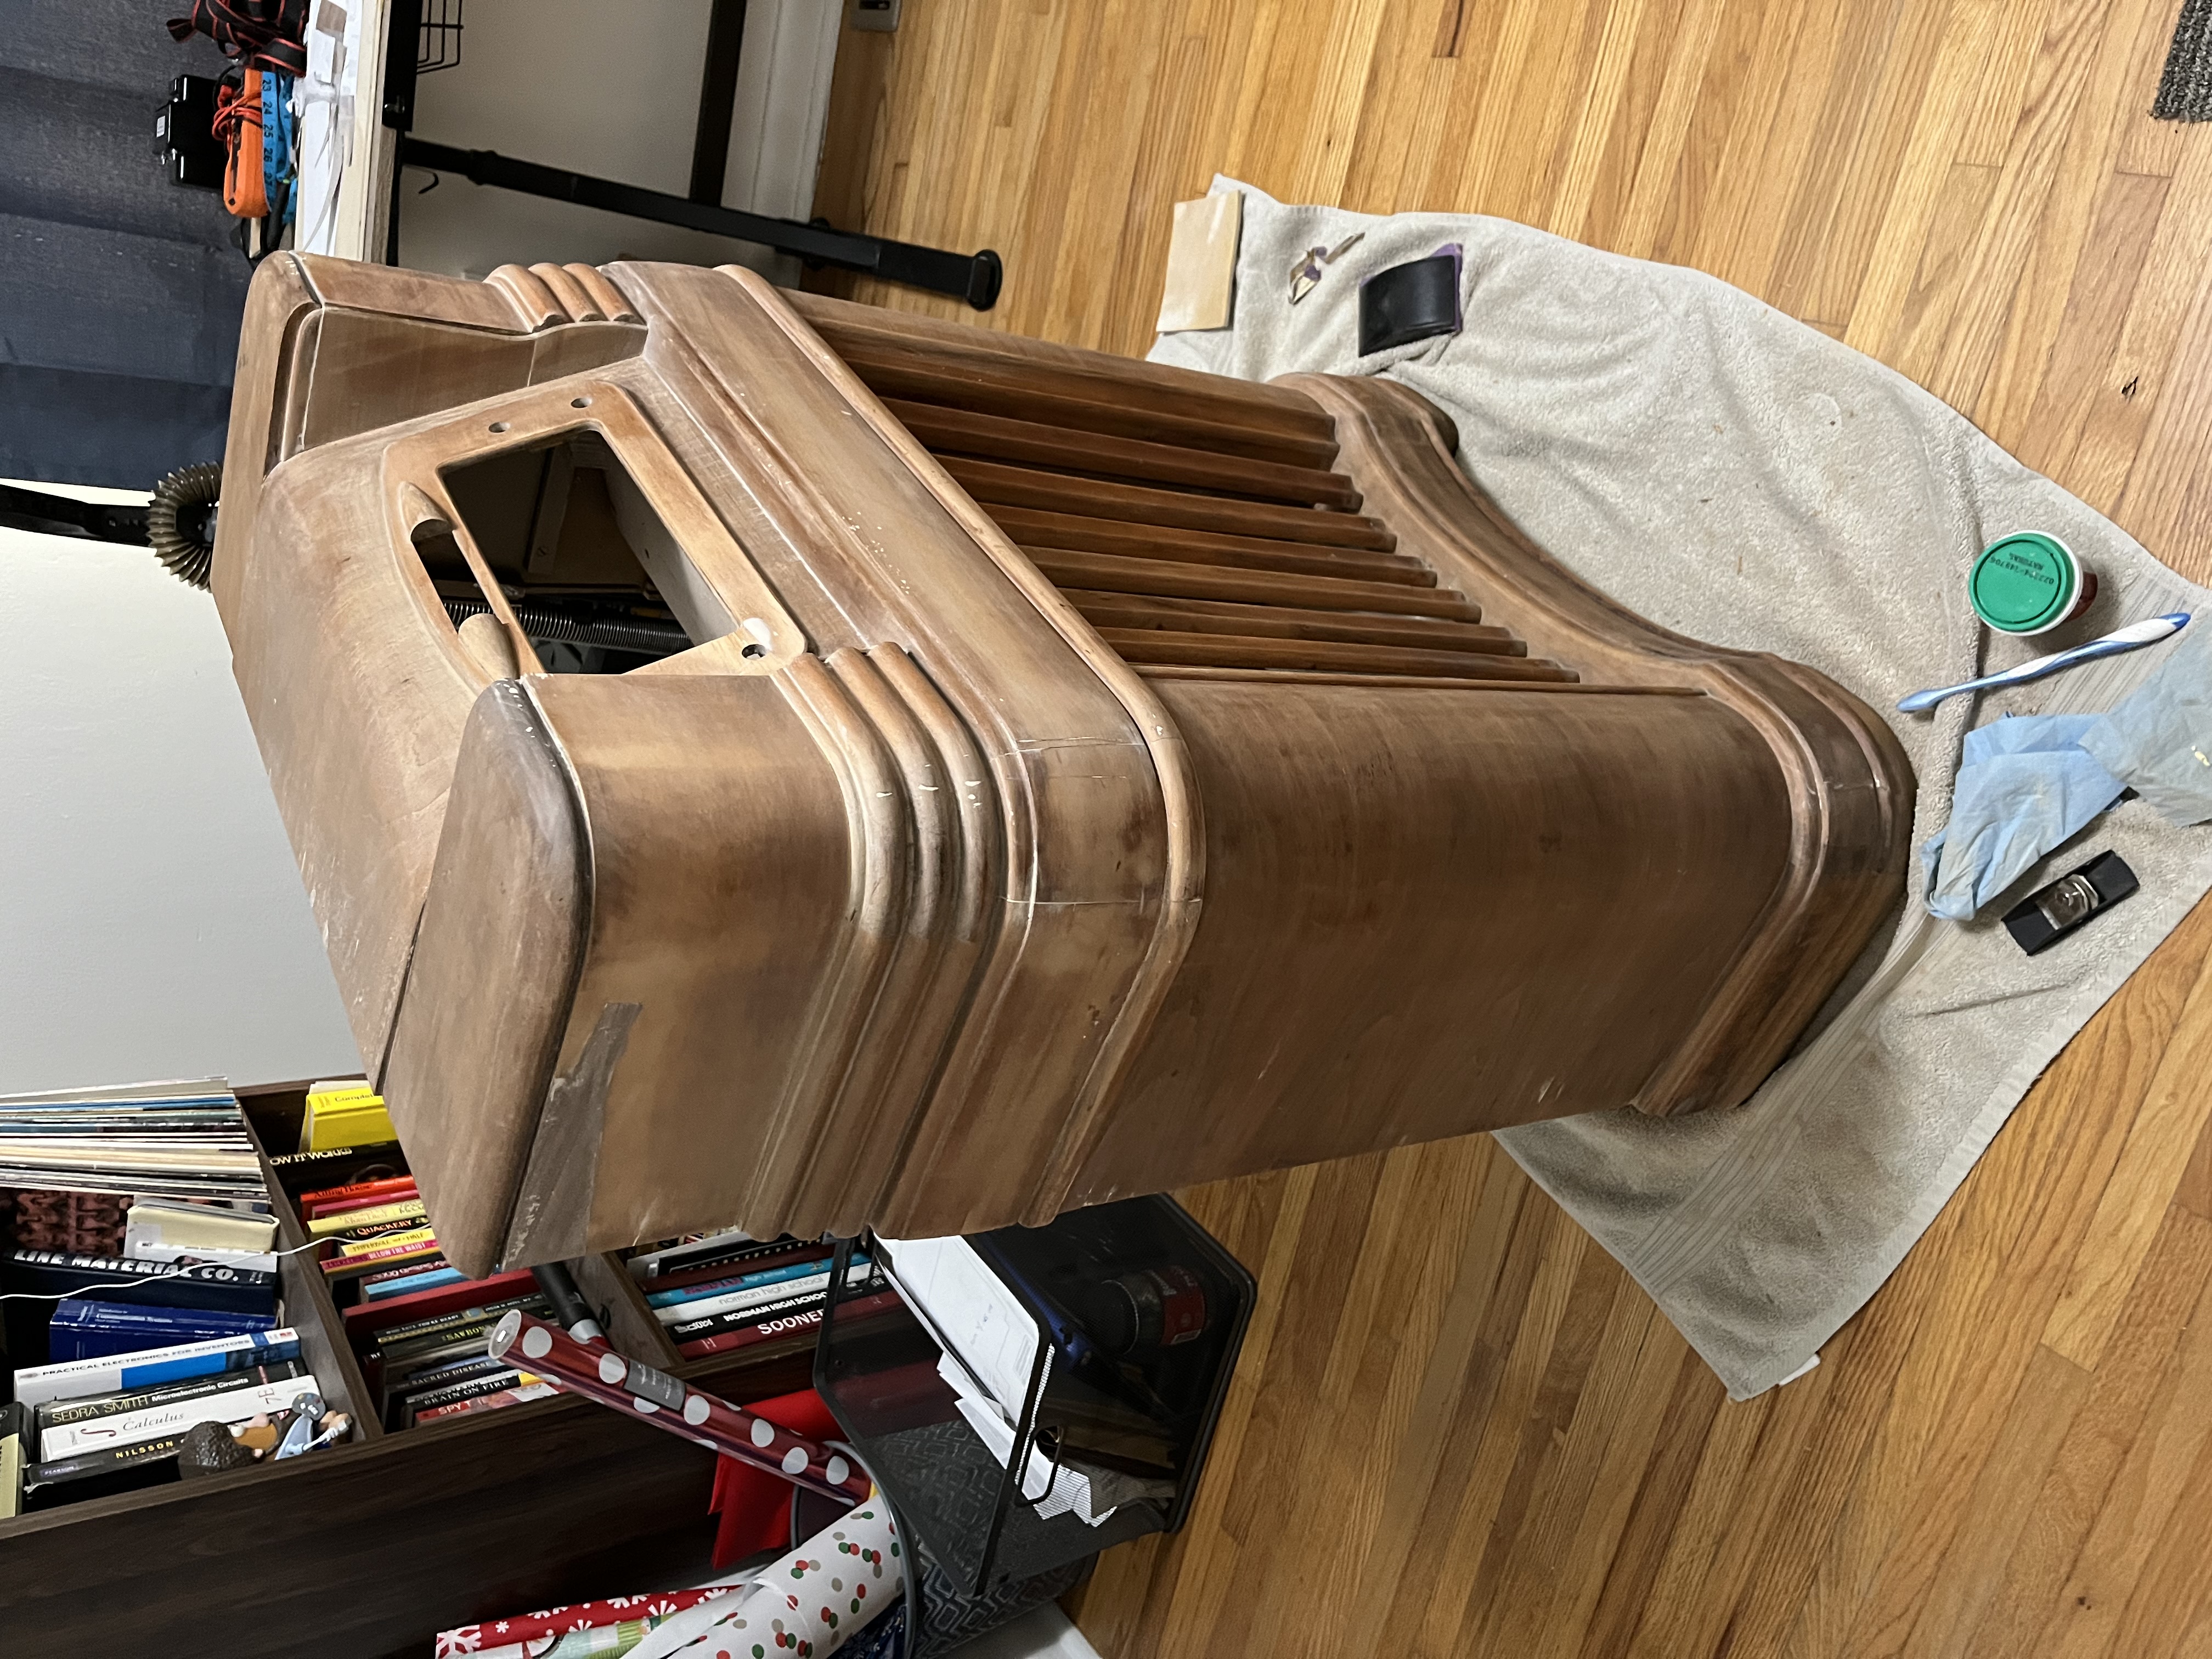
I've spent a couple of full days also working on filling cracks with filler. It's been slow--applying putty, letting it dry, and sanding back down. Yet, slowly I am starting to see a very nice radio!
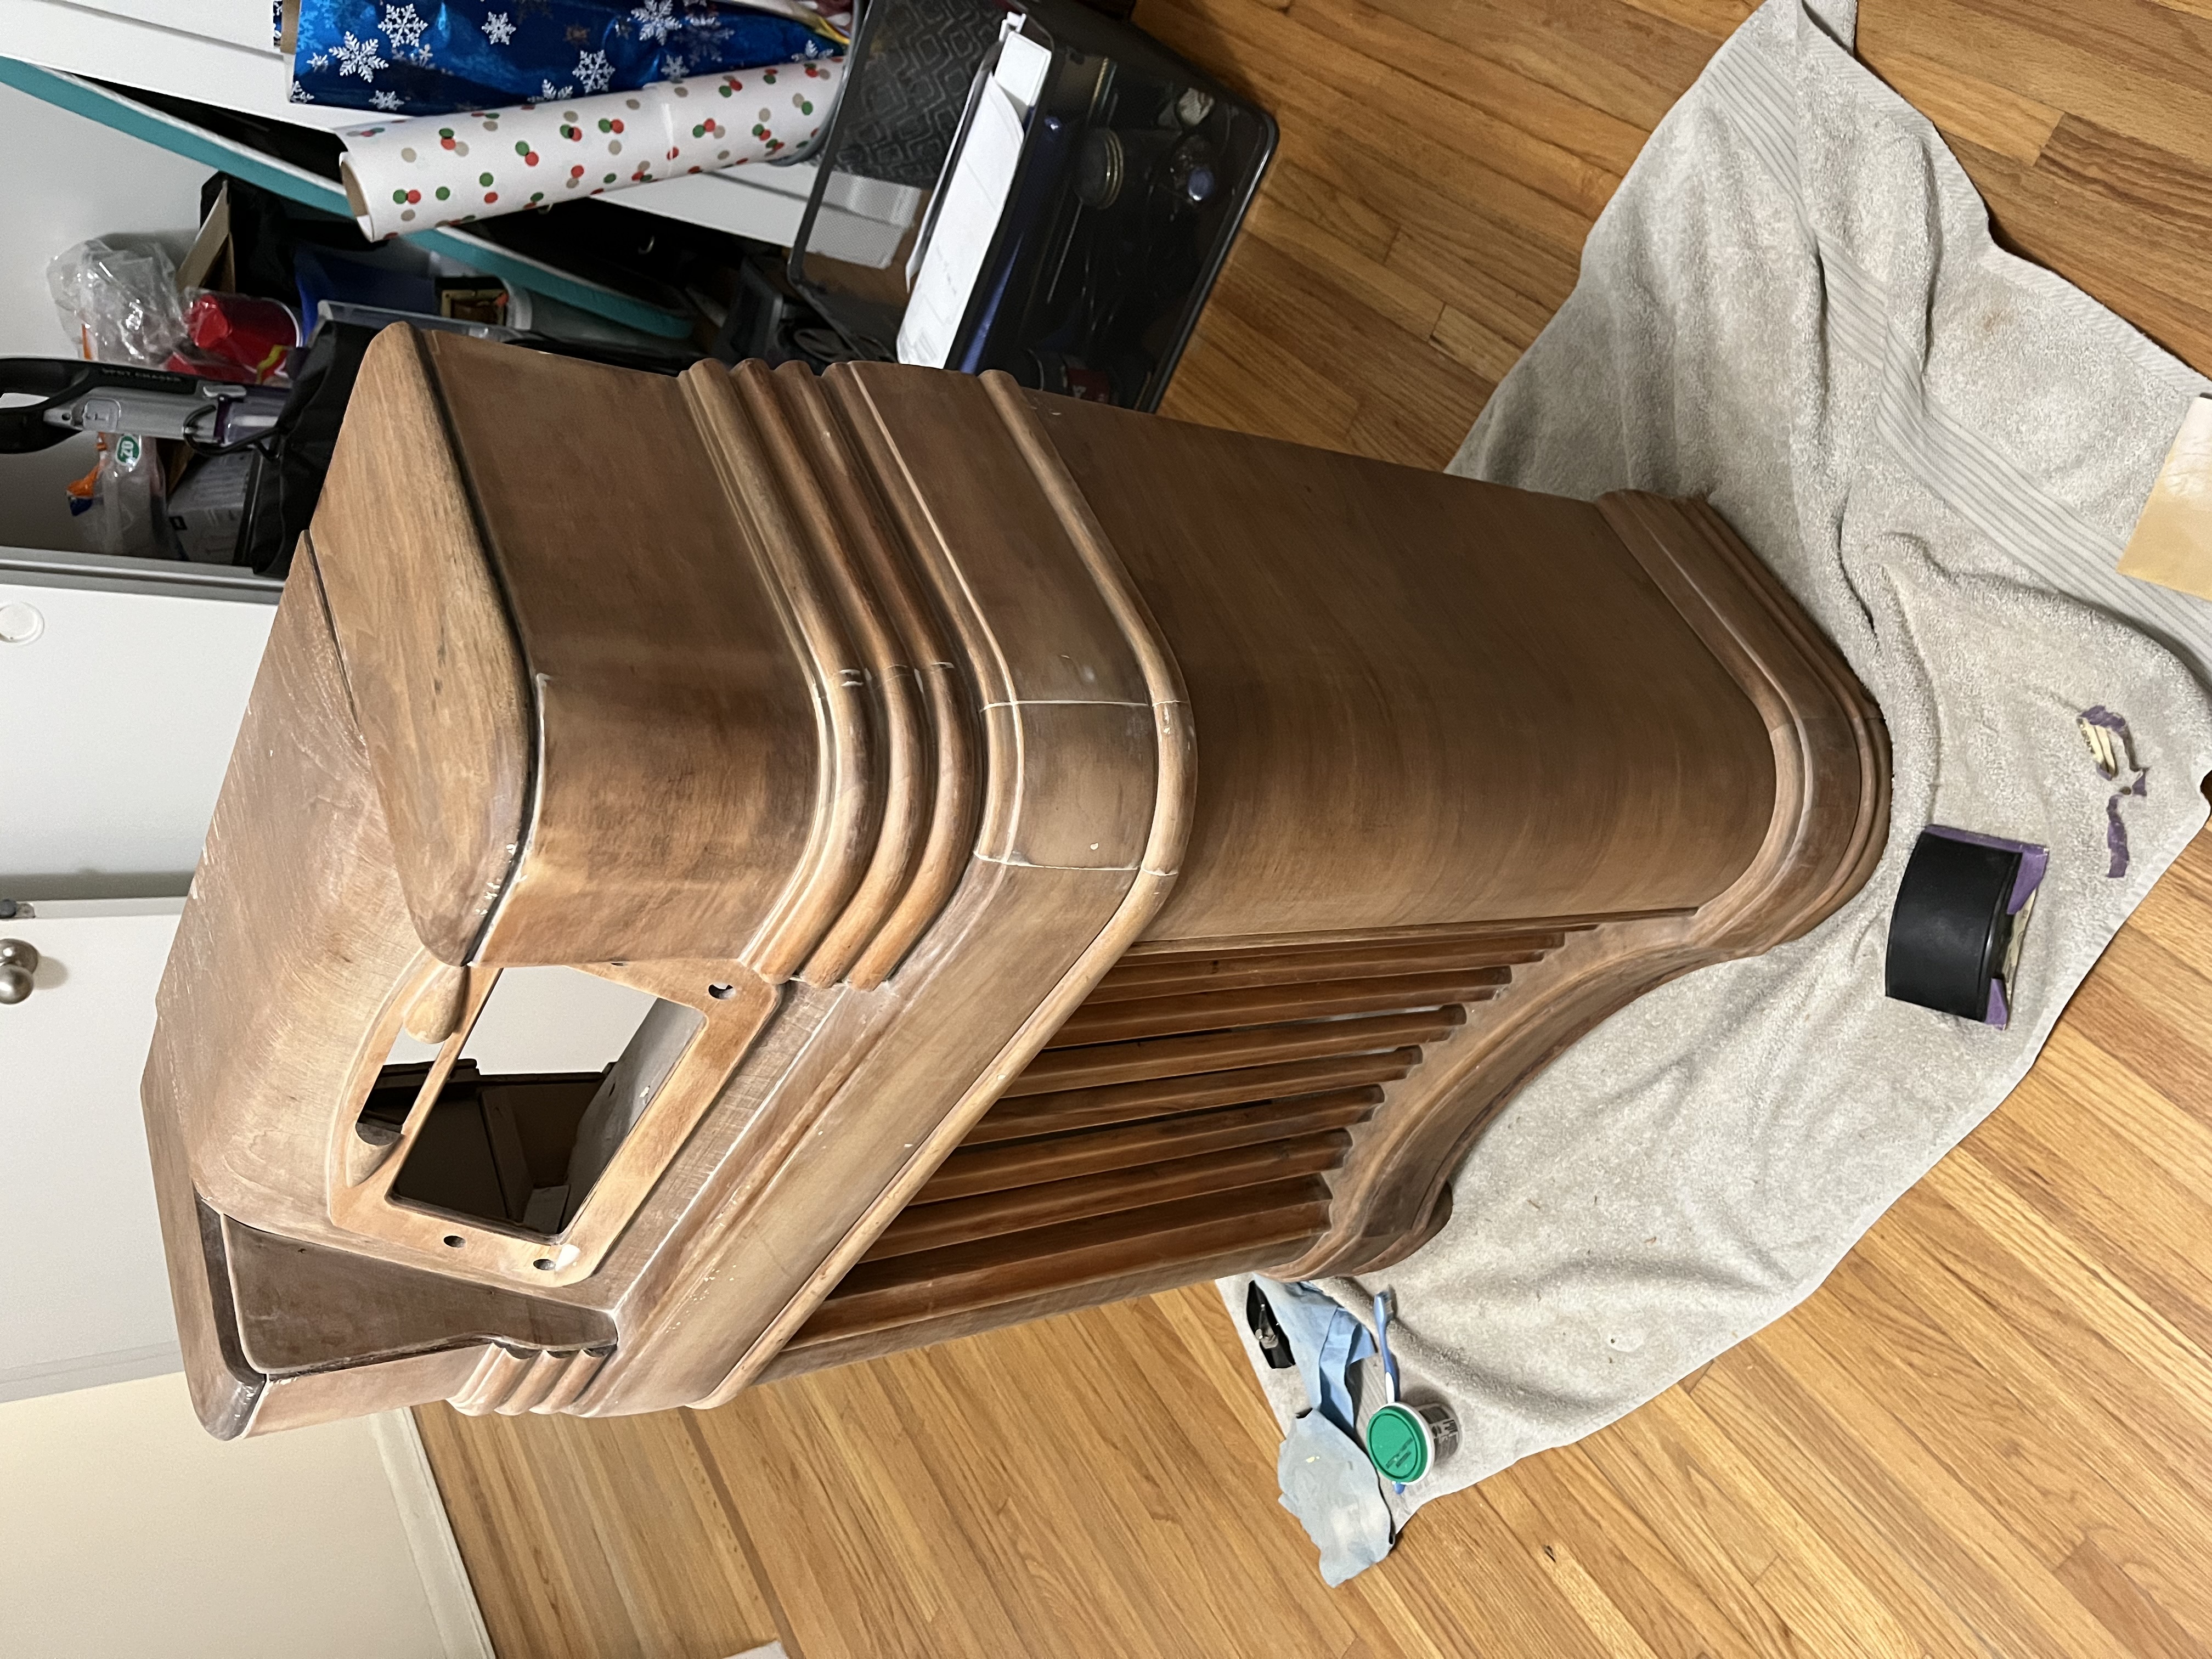
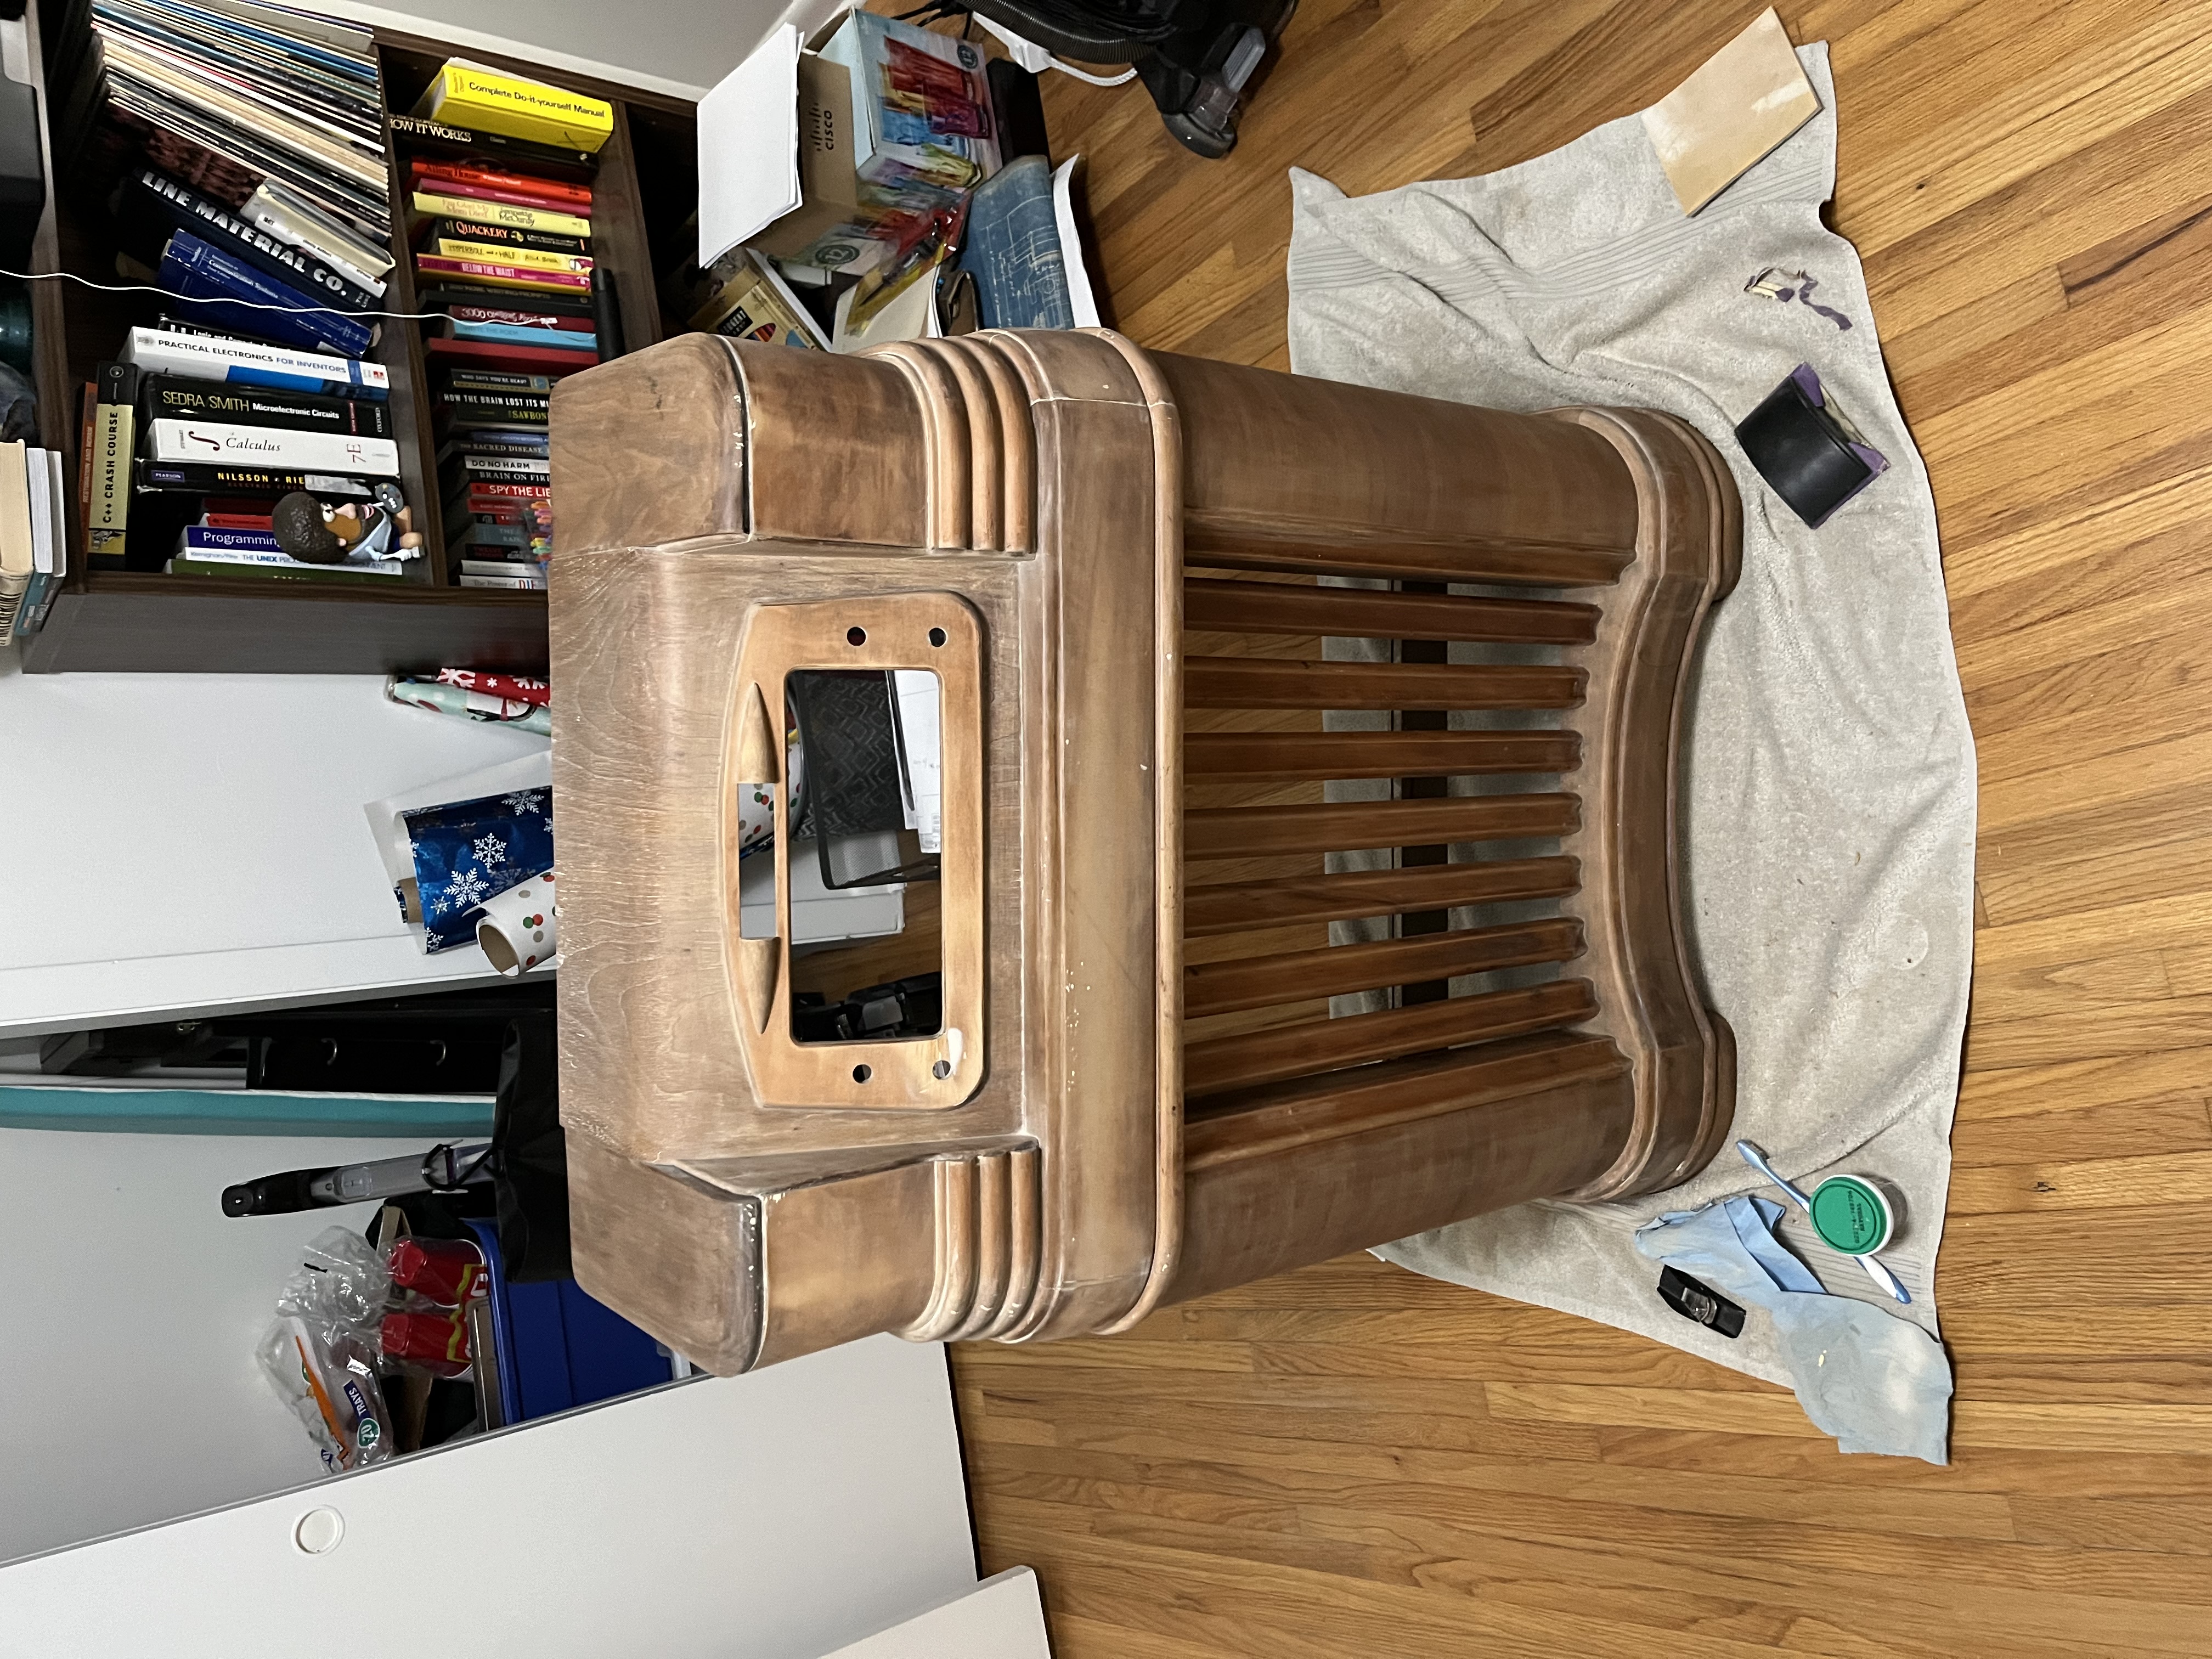
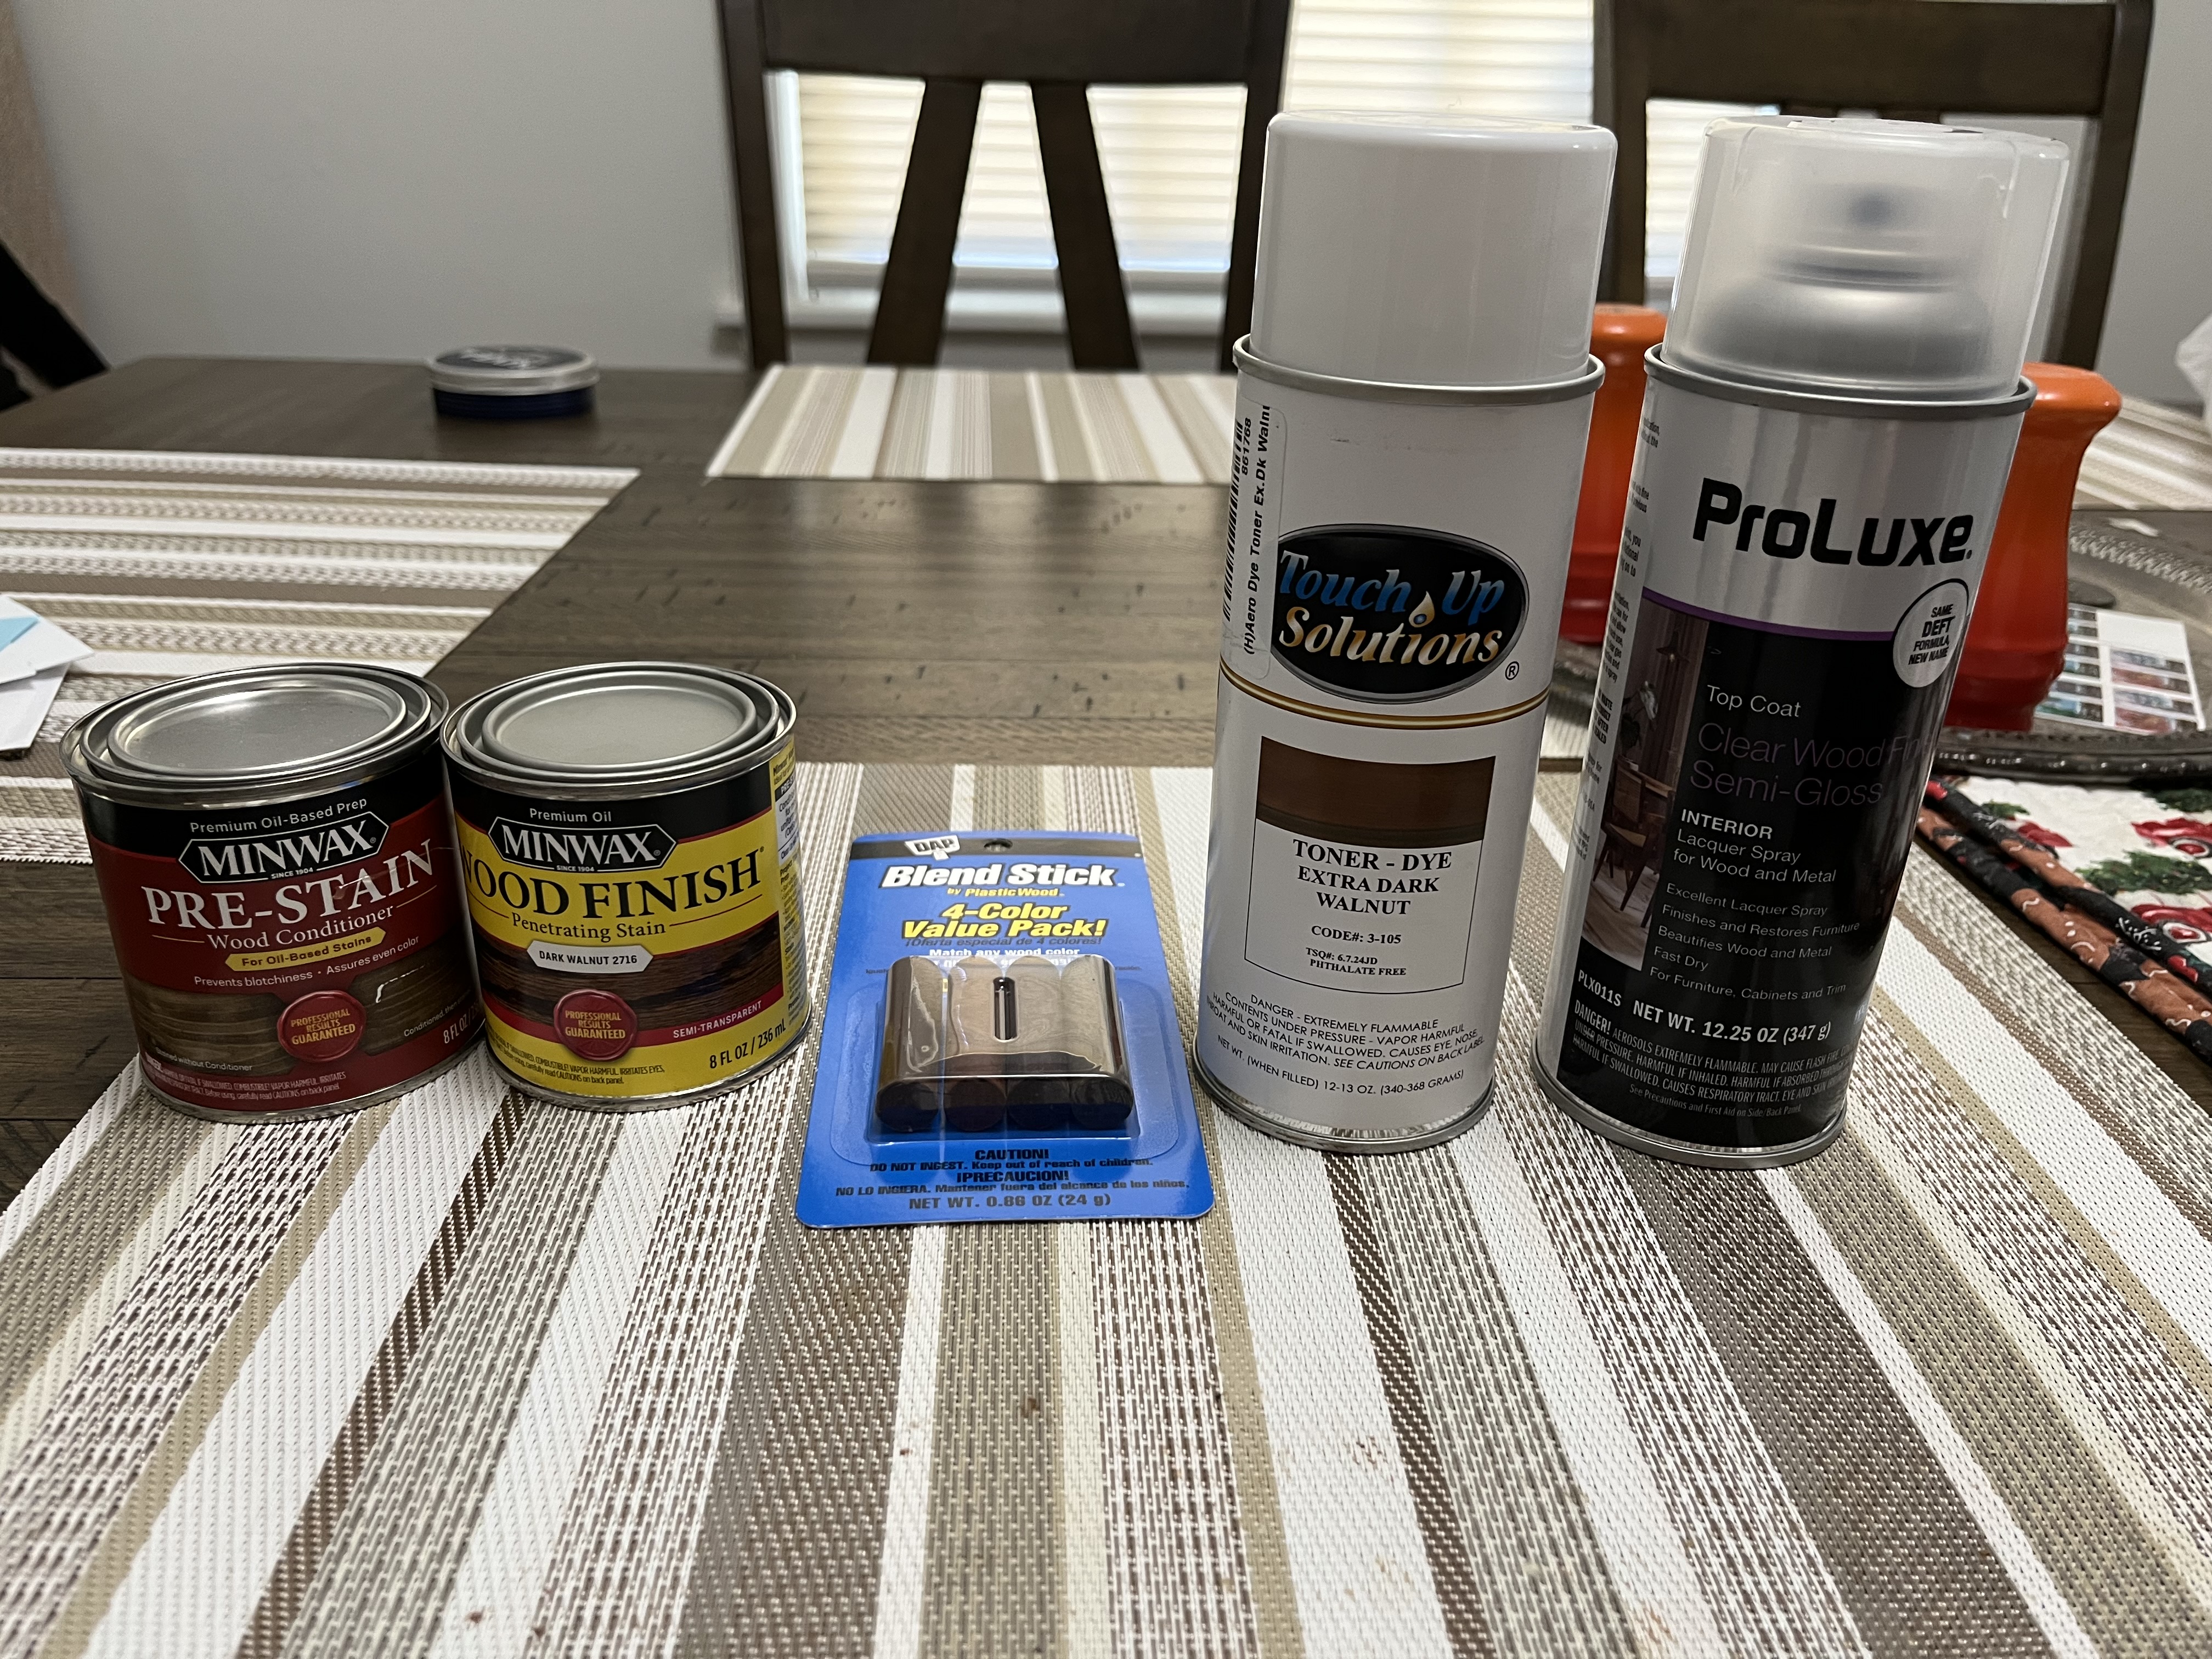
I think that I am on track to stain the cabinet next weekend. Here's the colors I have picked out. I plan to stain the entire cabinet, add the toner to the trim for added contrast, use the color matching crayons to blend any light spots, and then lacquer the entire cabinet. I will apply one coat of lacquer, and then hold off for the decals I have on order before applying the rest of the coats. I'd like to protect those under the lacquer.
It's been a couple of weeks since I've posted any update on the 46-480 cabinet, so I have got quite a lot to catch up on! I will try to keep this all in chronological order. After the last post, I fixed the crack in the trim around the dial. I had recently stripped the exterior of the cabinet, and thought it was smelling much better; however, I noticed after the smell of paint stripper faded that the cabinet still smelled pretty musty and like cigarette smoke. Thus, I decided to strip the interior as well. I'm not sure if the interior paint was original, but it had been painted brown. I liked the idea of repainting the interior as a means of sealing the wood, so I decided to repaint it a light brown or tan color. I covered the original detail stickers with newspaper so that they would still be visible after repainting. And, at long last, the bad smell was gone!
After that, I continued on with some structural repairs. I repaired the corners in back of the cabinet which connect the top of the radio to the sides. I have also replaced roughly half of the wood screws due to excessive rust and existing stripped heads. I repaired one of the sides of the base trim, as it had separated from the inner wood (had to get creative with one of my clamps!).
I have repaired a lot of loose veneer. Fortunately I was able to save almost all of the original, but there were a few spots which had chipped away. Here's a sample of the top of the radio, where I have repaired a few small chips.
And here is a view of the left side of the cabinet (left when viewed from the front), where the veneer had been loose. I noticed that this piece was very brittle, and didn't fit back into place without some pretty noticeable gaps. So I ended up cutting off this loose piece at its base, and spliced in a patch of the same walnut veneer I had used on the top.
In hindsight, I wish I would have ordered a larger piece of veneer to use for patching. I bought a 2" tall reel of 100 inches, intended for edging. The only disadvantage in this situation was that I needed to angle it a bit for the grain to point upward toward the back of the cabinet (to match the direction of the grain on the rest of the original veneer), meaning that I ran out of height on the veneer to taper it where you can see that cut straight across the grain. It fits beautifully, but I don't like that cut. I feel like it will be more visible that way. But I will see what magic I can pull off on the color blending. Maybe it won't be so bad; then again, maybe I will reattempt the patch. I'd like for the splice line to look less obvious.
I also reglued all of the veneer which was loose on the lower part of that side. Here's a before and after.
Here's a close-up of the black stain on top which was under the water ring mark. I have applied about 15 to 20 coats of vinegar, and I am starting to notice it fading. I will keep at it.
I have also ordered and received the replacement speaker fabric, purchased from Michael Katz. I ordered a 20" x 24" piece of the type 11A cloth, and it's beautiful!
I've spent a couple of full days also working on filling cracks with filler. It's been slow--applying putty, letting it dry, and sanding back down. Yet, slowly I am starting to see a very nice radio!
I think that I am on track to stain the cabinet next weekend. Here's the colors I have picked out. I plan to stain the entire cabinet, add the toner to the trim for added contrast, use the color matching crayons to blend any light spots, and then lacquer the entire cabinet. I will apply one coat of lacquer, and then hold off for the decals I have on order before applying the rest of the coats. I'd like to protect those under the lacquer.
Joseph
Philco 46-480
Philco 49-906


![[-] [-]](https://philcoradio.com/phorum/images/bootbb/collapse.png)


