Model 90 lowboy speaker rewiring question
Posts: 289
Threads: 42
Joined: Jan 2014
City: Jeffersonville
State, Province, Country: PA
Hi guys -
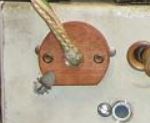
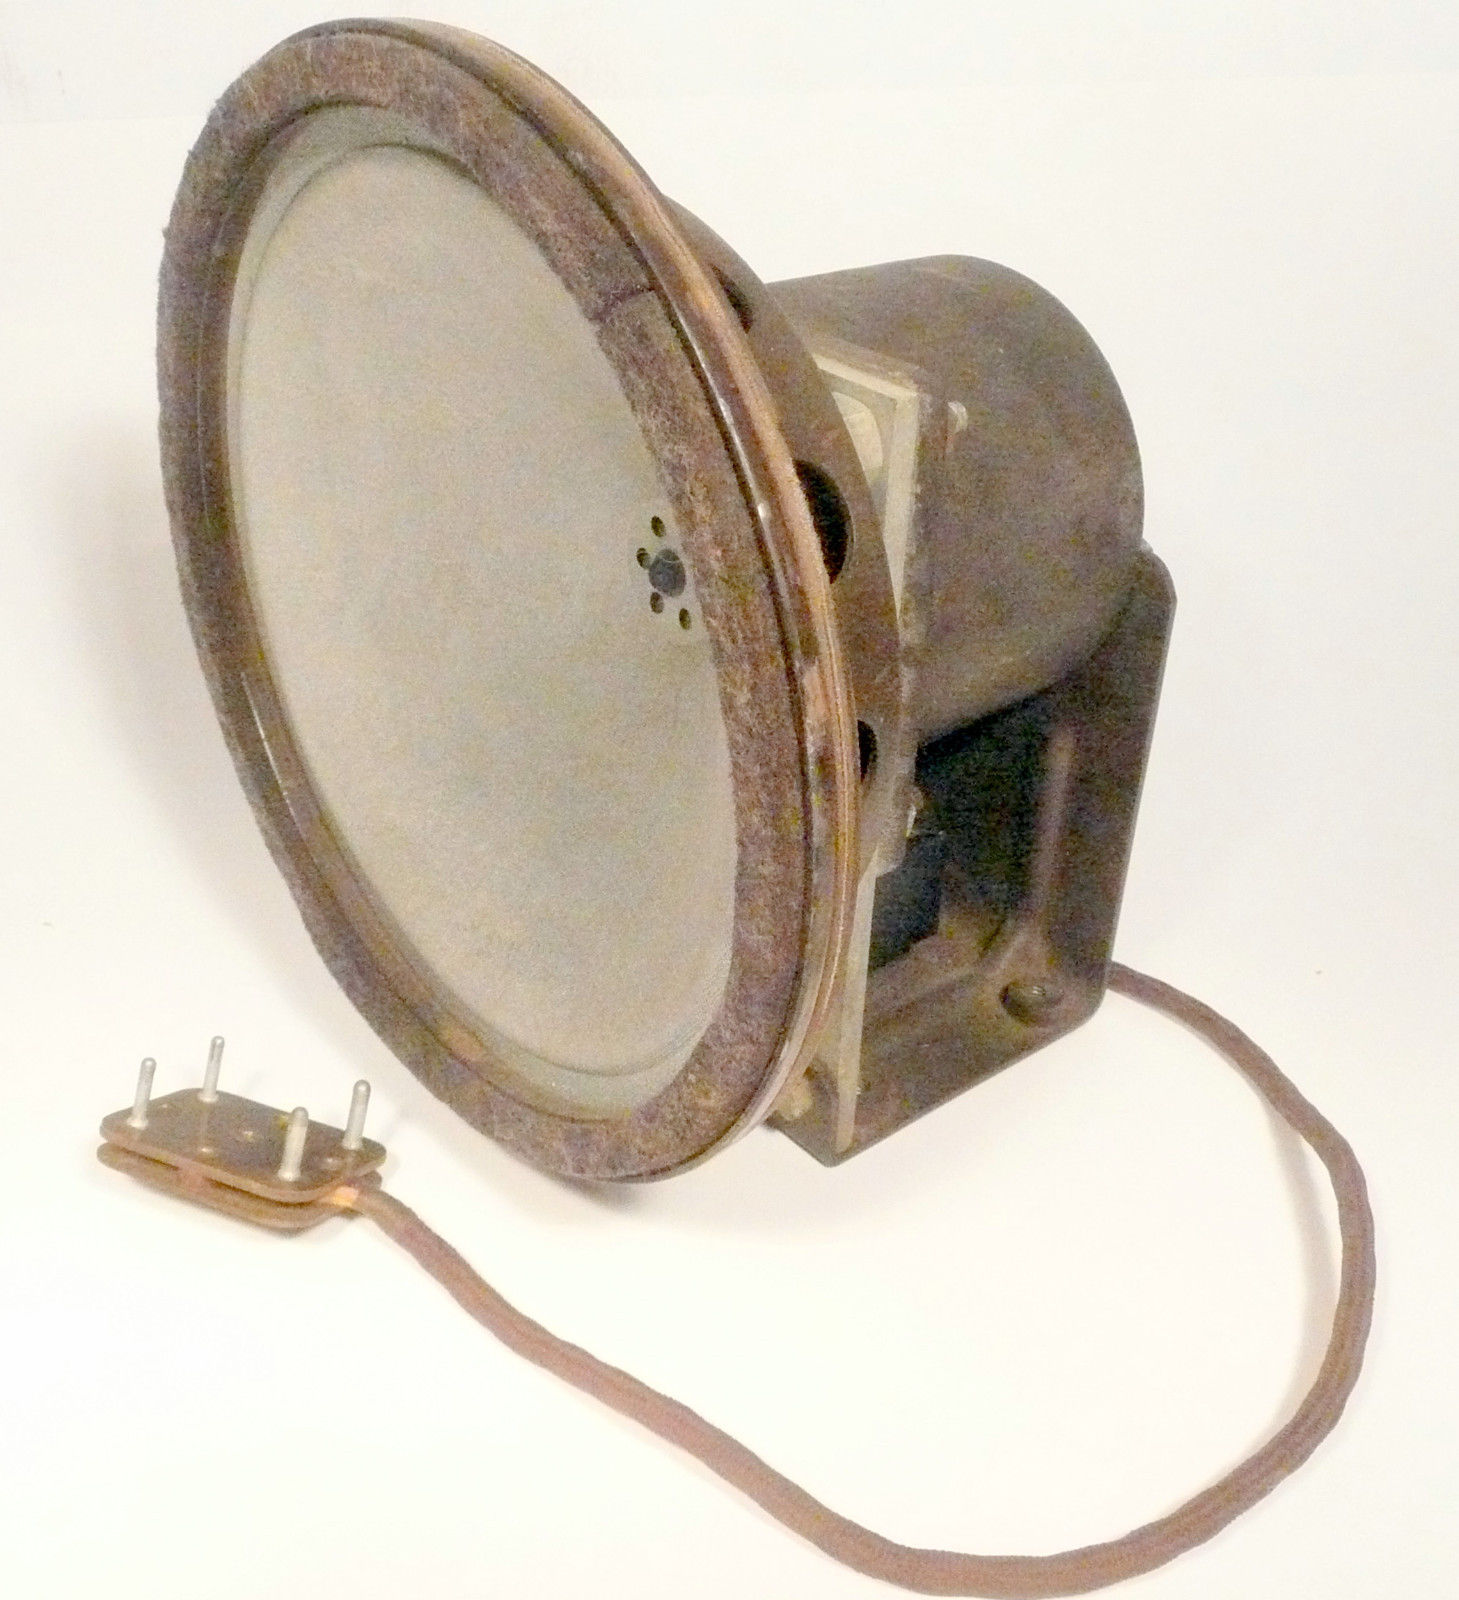
My model 90 lowboy's speaker needs all new wiring. The plug end looks to be two wafers riveted together. Since I want to terminate new wire directly to the 4 pins, if I drill out those rivets will that plug separate relatively easily? There's no glue or anything binding it together? I should then be able to rewire and rivet the two bake-lite pieces back together.
Thanks,
Paul
Posts: 1,303
Threads: 44
Joined: Nov 2017
City: Menlo Park
State, Province, Country: CA
If it is anything like the 2 wafer plug on my 16X. Carefully prise up the rivet end that was pressed over at assembly, and it might be reusable. Nothing to lose vs drilling.
Ed
I don't hold with furniture that talks.
Posts: 16,312
Threads: 569
Joined: Oct 2011
City: Jackson
State, Province, Country: NJ
Don't disassemble the wafer plug: it wires without needing to be taken apart.
The backelite plug (which is what is typically on 70/90/20 radios) does have to be taken apart.
You just solder the new wires to the old you are taking out and pull them through.
People who do not drink, do not smoke, do not eat red meat will one day feel really stupid lying there and dying from nothing.
Posts: 289
Threads: 42
Joined: Jan 2014
City: Jeffersonville
State, Province, Country: PA
Thanks for the help Ed and Mike. Just to make sure I described this correctly, I'm referring to the plug end that connects to the chassis. I can see the insulation has worn away inside the bakelite section, it's making some awful crackling noises. I don't see any other way to fix this other than separating the two plug halves?
Mike - are you referring to the other end that routes through the speaker frame? There's another type of plug there that seems to have the same issue of exposed wiring. I had planned to work the plug out so I can run new wires through the frame.
Posts: 16,312
Threads: 569
Joined: Oct 2011
City: Jackson
State, Province, Country: NJ
Which one do you refer to?


If the latter, I never tried to rewire it but all my speakers that use this one had wiring that was just fine.
The former is the one I was referring to. Easly rewiring without having to take apart.
But I am sure this can be done to the other one too: it is open and so things could be threaded through.
People who do not drink, do not smoke, do not eat red meat will one day feel really stupid lying there and dying from nothing.
Posts: 289
Threads: 42
Joined: Jan 2014
City: Jeffersonville
State, Province, Country: PA
My 90 is the type 3 chassis with the two 47's. The plug I'm initially working on is the smaller picture at the top of your post.
Posts: 16,312
Threads: 569
Joined: Oct 2011
City: Jackson
State, Province, Country: NJ
That's good news. I dealt with two of these, in an 18 and a 118 radio, and both times it was done without disassembly. I thought I documented that in the 18 thread from 5 years ago, but alas, I did not. It is self-explanatory though.
People who do not drink, do not smoke, do not eat red meat will one day feel really stupid lying there and dying from nothing.
Posts: 289
Threads: 42
Joined: Jan 2014
City: Jeffersonville
State, Province, Country: PA
The bakelite plug on my set cannot be re-wired to the pins without separating the plug. The two halves are sandwiched together with no space. I was assuming the rivets needed to be drilled or perhaps pried up as Ed suggested. There isn't any access to the back end of the pins. Just want to make sure I'm doing this correctly and not hack it up.
Thanks again.
Posts: 1,475
Threads: 69
Joined: Nov 2012
City: Kansas city, MO.
Posts: 1,303
Threads: 44
Joined: Nov 2017
City: Menlo Park
State, Province, Country: CA
Paul,
Keep us posted please on your chosen method, and good luck 
Cheers
Ed
I don't hold with furniture that talks.
Posts: 1,407
Threads: 72
Joined: Oct 2007
City: Linn Creek, MO
Both style plugs can be rewired without drilling the rivets. Take a look here http://www.philcoradio.com/phorum/showth...?tid=17924
Steve
M R Radios C M Tubes
Posts: 16,312
Threads: 569
Joined: Oct 2011
City: Jackson
State, Province, Country: NJ
This was exactly what I did on one of the wafer connectors. And had I not rushed to action, I would do it on the backelite one also.
You simply use old wires to pull in the new ones.
That is what I was saying before.
The thread KCMike found is the one where I did drill the rivets out. Next time I realized I didn't have to.
People who do not drink, do not smoke, do not eat red meat will one day feel really stupid lying there and dying from nothing.
Posts: 289
Threads: 42
Joined: Jan 2014
City: Jeffersonville
State, Province, Country: PA
Thanks Steve. That's very helpful! Breaking/cracking the plug halves is my biggest concern.
Appreciate your help Mike, as always.
Paul
Posts: 289
Threads: 42
Joined: Jan 2014
City: Jeffersonville
State, Province, Country: PA
An issue I'm running into with these solutions is I don't want to cut the wires initially because I need to trace them through the plug halves and then to their correct pins. I suspect the four connections are traceable on the schematic, which is one of my Achilles heals in this hobby. Same issue at the speaker end. I have to identify which wire connects to each pin first.
Paul
Posts: 16,312
Threads: 569
Joined: Oct 2011
City: Jackson
State, Province, Country: NJ
Just do them one at a time.
People who do not drink, do not smoke, do not eat red meat will one day feel really stupid lying there and dying from nothing.
Users browsing this thread: 5 Guest(s)
|
|
Recent Posts
|
|
Atwater-Kent 84, restoration.
|
| Hello mike,
What nice looking radio I have one AK in my collection it's a console I have not started restoring it yet ....radiorich — 11:21 PM |
|
91H Code 126 Restore
|
| Just to make it more confusing here is another model 91 schematic that doesn't show parts with dotted lines in that spot...Arran — 10:37 PM |
|
Atwater-Kent 84, restoration.
|
| The wires were desoldered from the can, and the capacitors checked. All checked at 0.102 uF, which is correct.
So the c...morzh — 09:41 PM |
|
An attempt to remove the Field Coil from a G speaker
|
| Arran
Yours probably then the H speaker, same as mine.morzh — 08:39 PM |
|
An attempt to remove the Field Coil from a G speaker
|
| Mike;
I would like to have a look at the speaker in my model 96, but the set is packed into a corner in the basement. ...Arran — 08:04 PM |
|
91H Code 126 Restore
|
| Thanks Arran,
I'm convinced the power cord is good but have a nice repro plug for it. Would it be prudent to add a fus...RealRider — 07:28 PM |
|
91H Code 126 Restore
|
| As I was studying this schematic I was wondering what does this dotted line means? I haven't traced it out yet.
An o...RealRider — 07:22 PM |
|
91H Code 126 Restore
|
| When it comes to the cloth covered power cords, if they are not frayed, and are flexible, and if I can bend one without ...Arran — 06:21 PM |
|
An attempt to remove the Field Coil from a G speaker
|
| Could be. The central cylinder is OK, but the sides are...well. What's done is done.
I wonder if some standard bobbine w...morzh — 06:02 PM |
|
An attempt to remove the Field Coil from a G speaker
|
| Mike;
As I was saying it doesn't look like they used much of a bobbin for the field coil, not like a Magnavox one wou...Arran — 05:49 PM |
|
Who's Online
|
There are currently 5568 online users. [Complete List]
» 1 Member(s) | 5567 Guest(s)
|
|
|

|
 
|


![[-] [-]](https://philcoradio.com/phorum/images/bootbb/collapse.png)


